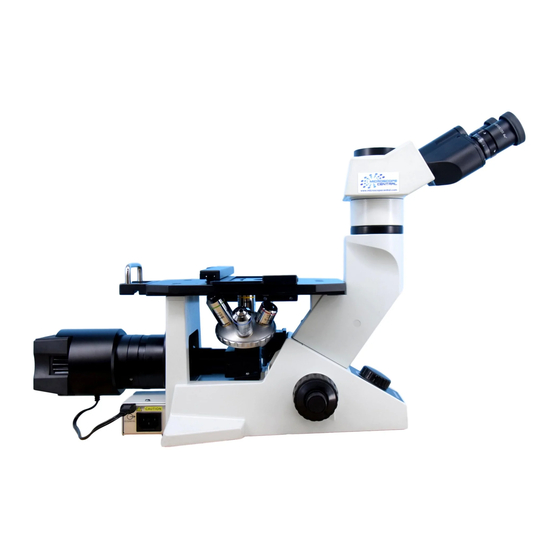
Olympus GX41 Руководство по эксплуатации - Страница 28
Просмотреть онлайн или скачать pdf Руководство по эксплуатации для Микроскоп Olympus GX41. Olympus GX41 32 страницы. Compact inverted metallurgical microscope

²
@
Fig. 35
Fig. 36
Intermediate
attachment
³
CKX-TBI
Fig. 37
Caution on Use of the U-DA/U-DO3
· U-DA
When the U-DA is attached, the imaging magnification becomes 14X because the GX41 should come on a low position.
· U-DO3
a) Since the U-DO3 is positioned above the stage, the specimen height is limited to 80 mm or less.
b) The assistant observer should take care not to touch the lamp socket of the GX41 because it is hot. If the heat hinders
observation, please use the optional heat shield plate.
c) The assistant observer should take care not to touch a projected part of the stage of the GX41 when manipulating the pointer
control lever.
24
7
³
|
5 6
8
@
²
Connecting the Cables and Power Cord
Cables and cords are vulnerable when bent or twisted. Never subject
them to excessive force.
Make sure that the main switch of the power supply is set to "
(OFF) before connecting cables.
1. Connect the plug 1 of the lamp socket cord firmly to connector 2 on the
rear of the microscope. (Fig. 35)
Do not connect anything other than the plug 1 of the lamp socket
cord to connector 2. Doing so will cause equipment failure.
Always use the AC power adapter and power cord provided by
Olympus. If no power cord is provided, please select the proper
power cord by referring to the section "PROPER SELECTION OF THE
POWER SUPPLY CORD" at the end of this instruction manual.
2. Connect the power cord connector 3 to connector 4 firmly. (Fig. 35)
3. Connect the power cord plug 5 to a wall outlet 6. (Fig. 36)
Be sure to supply power from a grounded, 3-conductor power outlet
using the proper power cord. If the power outlet is not grounded
properly, Olympus can no longer warrant the electrical safety perfor-
mance of the equipment.
If the power cord or a connection cable comes in contact with the
lamp socket or surrounding equipment, the cord or cable may melt
and result in shock hazard. To prevent this, distribute the cords and
cables apart from the lamp socket.
Mounting the Intermediate Attachment
1. Remove the observation tube from the microscope frame.
2. Using an Allen wrench provided with the microscope frame, loosen the
clamping screw ² of the observation tube mount @, and remove the
mount.
}The CKX-TBI tilting binocular tube can be mounted directly after remov-
ing the observation tube mount.
3. Attach the GX41-EPA eye point adjuster ³.
4. Attach one intermediate attachment above the GX41-EPA.
5. Attach the observation tube above the intermediate attachment.
(Figs. 35 & 36)
"
(Fig. 37)
