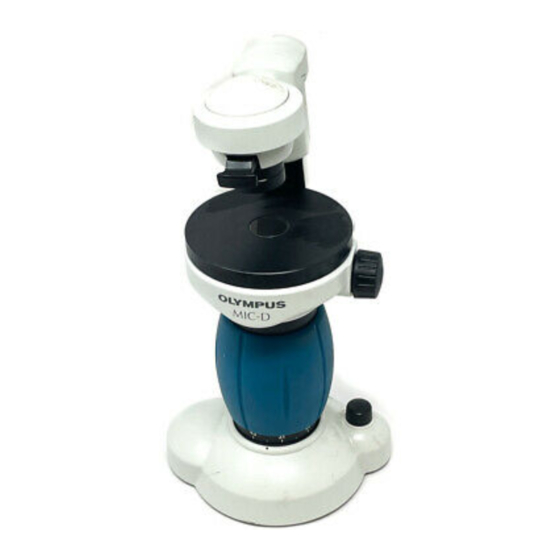
Olympus MIC-D Руководство по ремонту - Страница 24
Просмотреть онлайн или скачать pdf Руководство по ремонту для Микроскоп Olympus MIC-D. Olympus MIC-D 43 страницы. Digital microscope
Также для Olympus MIC-D: Краткое руководство по эксплуатации (28 страниц)

MIC-D
(11) -1- Remove C-MOS ass'y from base ass'y. Screws (CUKSK3X6SA : 4 pcs)
-2- Assemble dustproof rubber and mildewproof in the base ass'y.
-3- Fix the dustproof rubber piece by screws (ACU3X4SA : 2 pcs).
-4- Assemble the C-MOS ass'y in the base ass'y.
-5- Assemble the C-MOS ass'y by screws (CUKSK3X6SA : 4 pcs) temporally.
-6- Assemble light intensity board in the base ass'y.
-7- Fix the light intensity adjustment board by screws (CUKSK3X6SA : 2 pcs).
* The adjustment of output voltage is necessary. Refer to adjustment procedure.(Page D-4)
* The adjustment of CMOS color is necessary. Refer to adjustment procedure.(Page D-5)
* The adjustment of optical axis for shifting at the zoom is necessary.
Refer to adjustment procedure.(Page D-9)
Light intensity
adjustment board
CUKSK3X6SA
(2pcs)
(12) -1- Stick zoom indicator seal on the base ass'y. It centers on 132.
* The adjustment of center position of zoom indicator seal is necessary.
Refer to adjustment procedure.(Page D-12)
C. ASSEMBLY AND DISASSEMBLY PROCEDURES
C ‑ 1 2
Base ass'y
Mildewproof
CUKSK3X10SA
(1pc)
Dustproof rubber
C-MOS ass'y
CUKSK3X6SA
(4pcs)
Base ass'y
zoom indicator seal
