Olympus U-CBR1 Руководство по эксплуатации - Страница 8
Просмотреть онлайн или скачать pdf Руководство по эксплуатации для Микроскоп Olympus U-CBR1. Olympus U-CBR1 24 страницы.
3
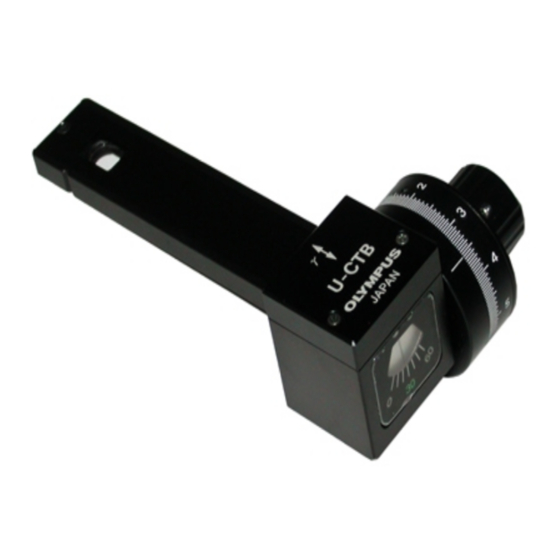
ASSEMBLY
@
³
Fig. 1
5
} The assembly method is the same for all the compensators.
The compensator is designed to be inserted in the test plate
adapter (U-TAD) or polarization attachment (U-PA).
With U-TAD
²
1. Loosen the clamping knob @ at the front of the revolving
|
nosepiece and remove the dummy slider.
2. Insert the test plate adapter (U-TAD) ² and tighten the
clamping knob @.
3. Loosen the test plate adapter clamping knob ³ and insert
the compensator | as far as the click-stop position (where
the compensator is not engaged into the light path), then
tighten the clamping knob ³.
With U-PA
1. Disengage the Bertrand lens from the light axis.
2. Engage the analyzer in the light path and set the rotary scale
to position "0".
3. Push in the compensator as far as it will go, and then pull it
slightly out until it stops in the click position.
# If the compensator is inserted at a tilted position, it
may impinge against the insertion slot. Always set to
position 30°.
} When measuring, insert the compensator one step further
to position it in the light path.
Preparation for Measuring
} Preparation for measuring is the same for all compensators.