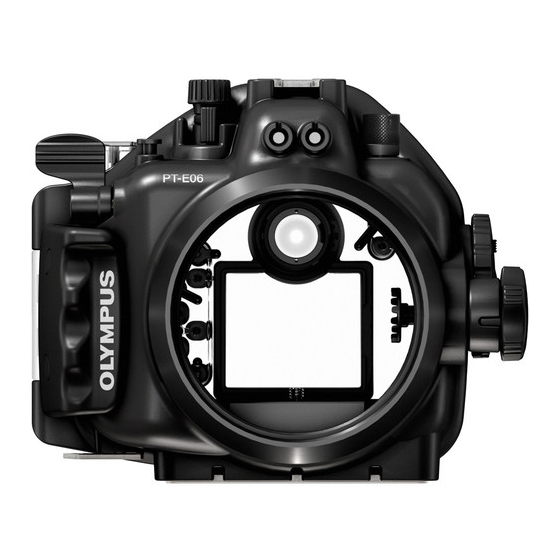
Olympus PT E06 Руководство по эксплуатации - Страница 23
Просмотреть онлайн или скачать pdf Руководство по эксплуатации для Аксессуары для фотоаппаратов Olympus PT E06. Olympus PT E06 30 страниц. Underwater camera case

6. Maintaining the Waterproof Function
The O-ring is a consumable product. Before each use, perform proper maintenance. Always be sure to
perform the O-ring maintenance operation as described below. Neglecting this maintenance may
become the cause of water leakage.
Perform at the location without sand or dust, after washing and drying your hands.
Remove the O-ring
Open the Case and remove the O-ring.
Procedure
1 Insert the O-ring remover into the gap between the O-ring and O-ring groove wall.
2 Bring the tip of the inserted O-ring remover below the O-ring. (Be careful not to damage the groove
with the tip of the O-ring remover.)
3 Lift the O-ring, pinch it with your fingertips and pull it out of the Case.
Remove any sand, dirt, etc.
After visually checking that dirt has been removed from the O-ring, check for attached sand and other
foreign matter, as well as for damage and cracks by squeezing the entire circumference of the O-ring
lightly with your fingertips.
Remove attached foreign matter from the O-ring groove with a clean cloth or a cotton swab. Also remove
any sand or dirt attached to any part of the Case that comes into contact with the O-ring.
CAUTION:
• When a sharp object is used to remove the O-ring or to clean the inside of the O-ring groove, the Case and
the O-ring may be damaged and water leakage may be caused.
• When the O-ring is checked with the fingertips, take care not to stretch the O-ring.
• Never use alcohol, thinner, benzene or similar solvents or chemicals detergents to clean the O-ring. When
such chemicals are used, it is likely that the O-ring will be damaged or that its deterioration will be
accelerated.
Install the O-ring
Confirm that no foreign matter is attached, apply a thin coat of the accessory grease to the O-ring, and
fit the O-ring into the groove. At this time, confirm that the O-ring does not stick out from the groove.
En
EN 22
