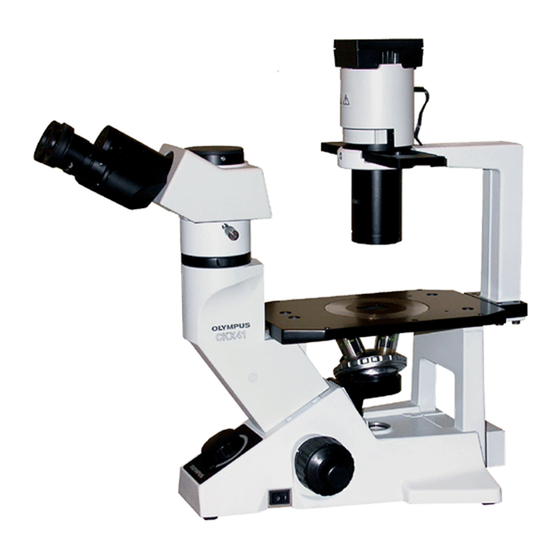
Olympus CKX-RFA Руководство по эксплуатации - Страница 18
Просмотреть онлайн или скачать pdf Руководство по эксплуатации для Лабораторное оборудование Olympus CKX-RFA. Olympus CKX-RFA 36 страниц. Reflected fluorescence system

- 1. Table of Contents
- 1. General Precautions for Observation
- 1. Using the Controls
- 2. Important
- 2. Applicable Fluorescence Objectives
- 3. Nomenclature
- 3. Centering the Mercury Burner
- 4. Controls of each Module
- 4. Switching the Filter Slider
- 4. Troubleshooting Guide
- 4. Specifications
- 4. Assembly
- 4. Assembly
- 4. U-Excitation Filter Set Ckx-Nu (Optional)
- 5. Summary of Reflected Fluorescence Observation Procedure
- 5. Proper Selection of the Power Supply Cord
...
Arc image
¬
Mirror reflected
image
®
¯
¶
15
Š
‹
‰
‡
†
Fig. 4
Terminal
Terminal
Fig. 5
Fig. 6
Fig. 6
5 . Project the arc image on the white paper, then center and
sharpen it by manipulating the collector focusing knob 6,
burner left/right centering knob 7 and burner up/down
centering knob 8 on the lamp housing. (Figs. 4 & 5)
# There may be causes in which the arc image projected
on the white paper is a mirror-reflected image. If the
arc image moves when the mirror left/right centering
screw 9 or mirror up/down centering screw a is turned,
it is a mirror-reflected image; bring it out of the field and
center the arc image as described above. (Fig. 4)
6 . Manipulate the burner left/right centering knob 7 slightly
to move the arc image to the right (or left). (Figs. 4 & 6 A)
7 . Using the Allen wrench provided with the illuminator, turn
the mirror focusing screw 9, mirror left/right centering
screw 9 and mirror up/down centering screw a to form
the mirror-reflected arc image on the white paper. (Figs. 4
& 6 B)
8 . Adjust the mirror centering screws 9 and a to move the
direct and mirror-reflected arc images in the symmetrical
position between each other, and turn the mirror focusing
screw b to adjust the size of the mirror-reflected image
until it is identical to that of the direct image. (Figs. 4 & 6 C)
9 . Turn the burner left/right centering screw 7 to overlap the
direct image with the mirror-reflected image. (Figs. 4 & 6 D)
10. Engage the 10X objective in the light path while continuing
to use the B-excitation mirror.
11. Place a specimen on the stage and bring into approximate
focus.
12. Look into the eyepiece and manipulate the collector
focusing knob 6 to make the field as bright as regular
as possible, then turn the knob clockwise to tighten.
} Maintain this condition until the next time the burner is
replaced.
(Fig. 4)
