Olympus U-RFLT50 Руководство по эксплуатации - Страница 8
Просмотреть онлайн или скачать pdf Руководство по эксплуатации для Лабораторное оборудование Olympus U-RFLT50. Olympus U-RFLT50 16 страниц. Power supply unit
Также для Olympus U-RFLT50: Руководство по эксплуатации (36 страниц)

- 1. Table of Contents
- 1. 2 Assembly
- 1. Assembly Diagram
- 1. Mounting the Mercury Burner
- 1. Setting the Voltage Selector Switch
- 1. Connecting Cords and Cables
- 2. 3 Preparation for Observation
- 2. Turning on the Mercury Burner
- 2. Centering the Mercury Burner
- 3. 4 Specifications
- 4. 5 Troubleshooting Guide
- 4. Proper Selection of the Power Supply Cord
1
Fig. 4
2-3 Setting the Voltage Selector Switch
1
Fig. 5
3
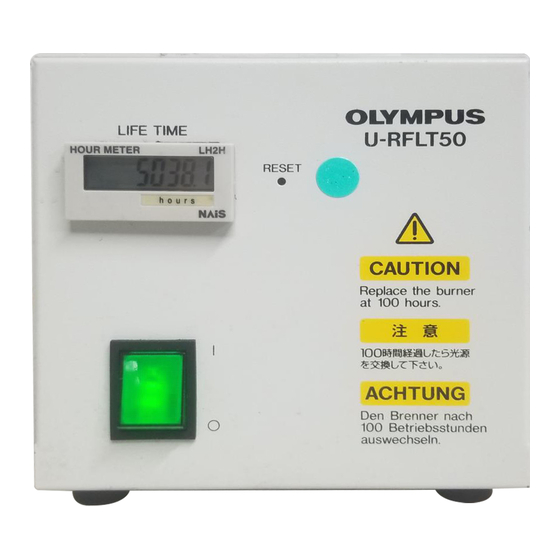
6. Press the reset button @ on the power supply unit's front panel to reset
the burner life indicator to "0.0".
} The counter shows elapsed time in hours. In order not to impair the safety
of the equipment, replace the burner when the counter indicates "100.0"
hours.
# Make sure that the indicator is properly reset to "0.0". The burner may
not start if the indicator is not properly reset.
To allow heat to escape, leave at least 10 cm free space around the
power supply unit.
1. Make sure that the voltage selector switch @ located on the rear panel of
the power supply unit is set to conform with the local AC mains voltage.
Use a flat-bladed screwdriver to move the switch if required.
2
2. Slide the frequency selector switch ² to the position conforming to the
local frequency.
# Improper setting of the selector switches may result in reduced burner
performance and/or cause it to crack.
(Fig. 5)
