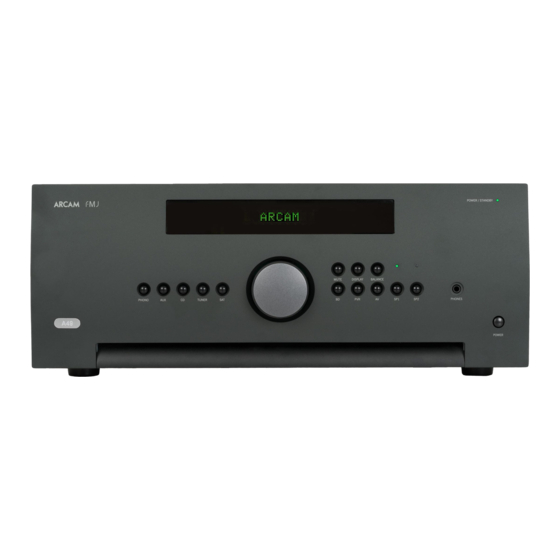
Arcam P49 Руководство и инструкции - Страница 5
Просмотреть онлайн или скачать pdf Руководство и инструкции для Усилитель Arcam P49. Arcam P49 13 страниц. Integrated amplifier/pre-amplifier/power amplifier

P49
connections
Pre-amplifier output
provides a copy of
PRE OUT
Unbalanced
the signal applied to the
pre-amplifier inputs
sockets. Please note
PRE IN
Use these sockets to connect
that this is a passive output,
your pre amplifier if it has
no additional filtering or
unbalanced phono outputs.
amplification is applied.
PRE
PRE
PRE IN R
PRE IN L
IN
OUT
L
MODE
INPUT
GAIN
ST/BRIDGE/DM
XLR/RCA
25dB/31dB
R
R
4–16 OHMS. CLASS 2 WIRING
SPEAKER 1
SPEAKER 2
Input switches
Speaker terminals
These switches allow the P49
The P49 is equipped with two
to be configured in different
pairs of speaker terminals. See
modes depending on the
pages 15 - 18 for information
system into which it will
on connecting loudspeakers.
be installed and the type of
Note
speaker connection topology
Please ensure your P49 is turned off before altering
that is used. See pages 16 –
any of the input switches!
18 for switch positions and
connecting loudspeakers.
Balanced XLR
pre-amplifier inputs
Trigger input
Use these sockets to connect your
allows the P49 to be remotely
TRIGGER IN
pre amplifier if it has balanced XLR
turned on and put into standby by an
outputs.
external source, the C49 for example.
TRIGGER IN
Trigger output
TRIGGER OUT
TRIGGER OUT
power state of any connected equipment,
L
such as a P49/P349 power amplifier. In
normal use there is no need to make any
connections to these outputs.
POWER INLET
SWITCH POSITIONS
115 = 110 - 120V~
230 = 220 - 240V~
4–16 OHMS. CLASS 2 WIRING
SUPPLY
SPEAKER 2
SPEAKER 1
VOLTAGE
110-120V/220-240V ~ 50-60 Hz
350W MAX
Power inlet
Voltage select
Connect the correct
Ensure that the voltage selected
mains cable here.
matches your local power supply.
Note
Please read the 'Placing the unit', 'Power' and
'Interconnect cables' sections on page 5 before
connecting up your P49 power amplifier!
E-8
P349
connections
Unbalanced
pre-amplifier inputs
Use these sockets to connect
your pre amplifier if it has
unbalanced phono outputs.
PRE IN
PRE OUT
allows the P49 to control the
SPEAKER 1
Pre-amplifier output
PRE OUT
provides a copy of
the signal applied to the
sockets. Please note
PRE IN
that this is a passive output,
Note
no additional filtering or
Please ensure your P349 is
amplification is applied.
turned off before altering
any of the input switches!
Balanced XLR
Input switches
pre-amplifier inputs
This switch selects between
Use these sockets to connect your
the unbalanced (RCA) and
pre amplifier if it has balanced XLR
balanced (XLR) inputs.
outputs.
CHANNEL
PRE IN 1
PRE IN 2
PRE IN 3
1
2
3
TRIGGER IN
INPUT
TRIGGER OUT
XLR/RCA
1
2
3
4–16 OHMS. CLASS 2 WIRING
4–16 OHMS. CLASS 2 WIRING
4–16 OHMS. CLASS 2 WIRING
SPEAKER 2
SPEAKER 1
SPEAKER 2
SPEAKER 1
SPEAKER 2
Speaker terminals
The P349 is equipped with three pairs of
speaker terminals. See pages 15 - 18 for
information on connecting loudspeakers.
E-9
Trigger input
TRIGGER IN
allows the P349 to be remotely
turned on and put into standby by an
external source, the C49 for example.
Trigger output
TRIGGER OUT
allows the P349 to control
the power state of any connected
equipment, such as a P49/P349 power
amplifier. In normal use there is no need
to make any connections to these outputs.
Voltage select
POWER INLET
SWITCH POSITIONS
115 = 110 - 120V~
230 = 220 - 240V~
Ensure that the voltage selected
SUPPLY
VOLTAGE
matches your local power supply.
110-120V/220-240V ~ 50-60 Hz
350W MAX
Power inlet
Connect the correct
mains cable here.
Note
Please read the 'Placing the unit', 'Power' and
'Interconnect cables' sections on page 5 before
connecting up your P349 power amplifier!
