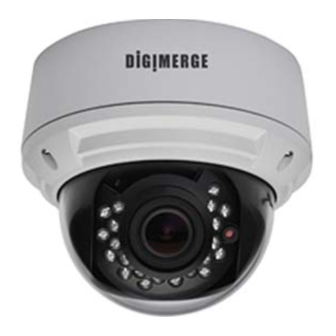
Digimerge DPD24DL Руководство по эксплуатации - Страница 7
Просмотреть онлайн или скачать pdf Руководство по эксплуатации для Камера безопасности Digimerge DPD24DL. Digimerge DPD24DL 14 страниц. Ultra resolution day & night ir dome camera
Также для Digimerge DPD24DL: Руководство по эксплуатации (14 страниц)

INSTALLATION. INDOOR DOME
ATTENTION - If using DC power, follow the correct
1
polarity as marked on the power cable.
1a) Press down on the tab marked with an arrow to lift
1b) While pressing on tab, twist the dome cover
b
a
Method 1 - Direct Attach Install
2
2a) Use included mounting template to mark and pre-
Go to step
a
OR
Method 2 - Camera Base Install
2b) Use the included mounting template (Installation
b
Method 3 - Junction Box Install
2c)
3
a
3a) Reinsert camera module into camera base by
b
3b) Reinstall the base locking screws. (indicated
Go to step
(Surface Mounting)
up the dome cover slightly
counter clockwise just a few degrees to release
dome cover from back clips.
Lift off the cover.
drill the required holes. Use included 2.8" screws to
mount the camera directly to the mounting surface.
3
on page 9 to complete installation.
Option 1) to mark and pre-drill the required holes.
Remove the camera base by unscrewing the base
locking screws (indicated by padlock markings)
and turn camera module approx. 5 degrees
counterclockwise to detach camera base from the
camera module. Install the base as indicated using
the 1.2" screws. Go to step 3a.
(see page 4 for details). Remove the camera
base by unscrewing the 3 base locking screws,
and turn the camera module approx. 5 degrees
counterclockwise to detach camera base from
camera module. Install the base to the junction box
using the base attachment screws. Go to step 3a.
aligning the arrow notches, and turning camera
module clockwise to lock into place.
by padlock markings)
3
on page 9 to complete installation.
-8-
INSTALLATION. INDOOR DOME
ATTENTION - If using DC power, follow the correct
1
polarity as marked on the power cable.
1a) Press down on the tab marked with an arrow to lift
up the dome cover slightly
1b) While pressing on tab, twist the dome cover counter-
clockwise to release dome cover
b
a
1c) Remove the camera base by unscrewing the base
locking screws (indicated by a padlock markings)
and turn camera module approx. 5 degrees counter-
clockwise to detach camera base from the camera
2
module.
a)
Note: Always cut using the inside line of the cutout
template
b
b) Insert camera into cutout. Make sure that the
mounting arms are not extended.
c) Turn screwdriver clockwise to unlock all of the 3
mounting arms.
d
c
d) Continue turning clockwise to move mounting arms
down until they make contact with inner mounting
surface.
Note: Once mounting arms have made contact with
Thumb Screw
3
a) Remove camera cover by squeezing the back and front of
the cover as indicated by the arrow indicators at the same
time and lifting it up and away from the lens.
Zoom
b) Insert the included video test cable into the RCA jack and
Focus
connect to a test monitor to set up camera. (see page 10).
c) Adjust camera viewing angle and secure into place by
Adjust lens and OSD as required.
Note: Lens adjustment levers are by default in the locked
position. Turn counter clockwise to unlock. Tighten
levers to secure lens setting.
a) Re-attach the camera cover, using the thumb screw as a guide, until it snaps into place.
4
b) Reattach dome cover.
(Semi-Flush Mount)
the inner mounting surface, do not apply too
much pressure to avoid damaging surface.
-9-
