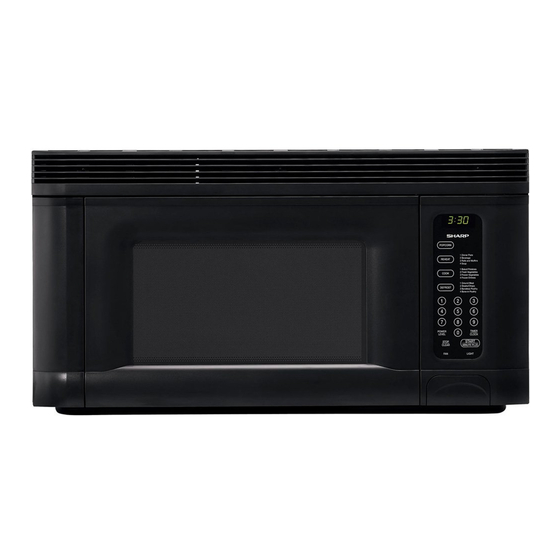
Sharp Carousel R-1405, Carousel R-1406 Руководство по установке - Страница 27
Просмотреть онлайн или скачать pdf Руководство по установке для Микроволновая печь Sharp Carousel R-1405, Carousel R-1406. Sharp Carousel R-1405, Carousel R-1406 32 страницы. Over the range microwave oven
Также для Sharp Carousel R-1405, Carousel R-1406: Технические характеристики (2 страниц), Руководство по эксплуатации (48 страниц)
O T H E R C O N V E N I E N T F E A T U R E S
AUDIBLE SIGNAL
ELIMINATION
If you wish to have the oven operate with no audible
signals, touch TIMER/CLOCK, the number 5 and then
touch START pad and hold for three seconds.
To cancel and restore the audible signal, touch
TIMER/CLOCK, the number 5 and STOP/CLEAR
pads.
FAN
The fan will automatically start when heat rises from
range surface units or burners. This protects the micro-
wave oven from excessive temperature rise. The fan
will stay on until the temperature decreases. It cannot
be turned off manually during this time.
Press FAN pad one time to turn it on and once again to
turn it off.
R E P L A C I N G P A R T S
CHARCOAL FILTER
Charcoal Filter, Sharp part number RK-240 is used for
nonvented, recirculated installation. The filter should be
changed every 6 to 12 months depending on use. See
page 14 for ordering information.
1. Disconnect power to the oven at the circuit breaker
panel or by unplugging.
2. Remove the three louver mounting screws and
push down carefully on the tab at each end of the
louver to disengage it. (See illustration.)
3. Pull the louver away from the unit.
4. Change the charcoal filter.
5. Carefully push the louver back into place (engaging
both the bottom and top tabs) and replace the
screws removed in step 2.
Charcoal filter
(white side faces front)
Screw
Top
Louver
Screw
Screw
Bottom tab
DEMONSTRATION MODE
To demonstrate, touch TIMER/CLOCK, the number 0
and then touch the START pad and hold for three
seconds.
DEMO
operations and specific special features can now be
demonstrated with no power in the oven. For example,
touch MINUTE PLUS pad and the display will show
and count down quickly to
1:00
To cancel, touch TIMER/CLOCK, the number 0 and
STOP/CLEAR pads. If easier, unplug the oven from the
electrical outlet and replug.
LIGHT
Press the LIGHT pad one time to turn it on and once
again to turn it off.
LIGHT
1. To replace light bulbs, first disconnect power to the
oven at the circuit breaker panel or by unplugging.
2. To release cover, remove the screw on the light cover.
(See illustration.)
3. Replace light bulbs with equivalent watt bulb
available from your Sharp Authorized Servicer or
parts distributor. Bulbs are also available at most
hardware stores or lighting centers. DO NOT USE
A BULB LARGER THAN 30 WATTS.
4. Close light cover and secure with screw removed in
step 2.
CAUTION: Light cover may become very hot. Do not
touch glass when light is on.
Light
cover
27
will appear in the display. Cooking
End
Screw
Light
bulbs
.