Sharp MX-2300N Guide Инструкции по сканированию в электронную почту - Страница 3

Просмотреть онлайн или скачать pdf Инструкции по сканированию в электронную почту для Принтер "все в одном Sharp MX-2300N Guide. Sharp MX-2300N Guide 7 страниц. Sharp mx-2700n, mx-2300n mfp - scan to e-mail instructions
Также для Sharp MX-2300N Guide: Технические характеристики (2 страниц), Руководство по устранению неполадок (44 страниц), Руководство по технике безопасности (28 страниц), Руководство по заполнению документов (47 страниц), Руководство по настройке программного обеспечения (48 страниц)
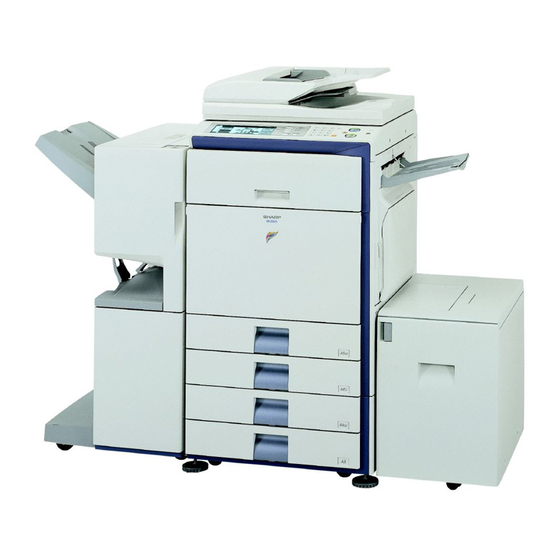
Sharp MX-2300N Guide Инструкции по сканированию в электронную почту
iv.
Touch the [Search] key.
The search results appear as destination keys.
If matching e-mail addresses are not found, a message indicating the result is displayed. In this
case, touch the [OK] key and touch the [Search Again] key to return to step iii.
v.
Touch the key of the desired destination address.
For detailed information on the selected destination, touch the [Detail] key.
Touch the [To] key, or touch the [Cc] or [Bcc] keys
vi.
If you wish to enter another destination e-mail address, touch the [Next Address] key
and search again.
vii
Touch the [Condition Settings] key
After the document is scanned it will be included as a file attachment on an e-mail
message. The e-mail message will have a default subject, a default "Reply-To" name, and a
default name for the attached file.
To enter a custom subject or a custom "Reply-To" name for the e-mail message,
or to enter a custom name for the attached file, see ADVANCED INSTRUCTIONS.
3