Sharp MX-2300N Guide Руководство по настройке программного обеспечения - Страница 30

Просмотреть онлайн или скачать pdf Руководство по настройке программного обеспечения для Принтер "все в одном Sharp MX-2300N Guide. Sharp MX-2300N Guide 48 страниц. Sharp mx-2700n, mx-2300n mfp - scan to e-mail instructions
Также для Sharp MX-2300N Guide: Технические характеристики (2 страниц), Руководство по устранению неполадок (44 страниц), Руководство по технике безопасности (28 страниц), Руководство по заполнению документов (47 страниц), Инструкции по сканированию в электронную почту (7 страниц)
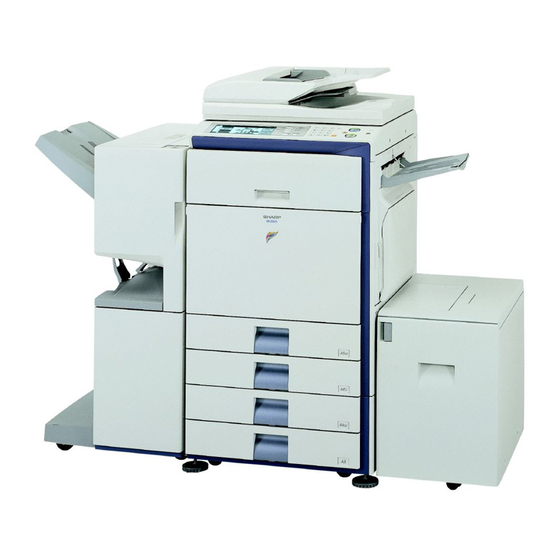
Sharp MX-2300N Guide Руководство по настройке программного обеспечения

INSTALLING THE SCANNER DRIVER

The scanner driver (TWAIN driver) can only be used when the machine is connected to a network. When the scanner
driver is installed, PC scan mode of the image send function can be used.
Supported operating systems: Windows 98/Me/2000
* Administrator's rights are required to install the software.
1
Insert the "Software CD-ROM" into your
computer's CD-ROM drive.
Insert the "Software CD-ROM" that shows "Disc 2" on the
front of the CD-ROM.
2
Click the [start] button, click [My
Computer] (
the [CD-ROM] icon (
If you are using Windows 98/Me/2000, double-click [My
Computer], and then double-click the [CD-ROM] icon.
3
Double-click the [Setup] icon (
4
The "SOFTWARE LICENSE" window
will appear. Make sure that you
understand the contents of the license
agreement and then click the [Yes]
button.
You can show the "SOFTWARE LICENSE" in a
different language by selecting the desired language
from the language menu. To install the software in the
selected language, continue the installation with that
language selected.
5
Read the message in the "Welcome"
window and then click the [Next]
button.
28
), and then double-click
).
*
*
/XP
/Server 2003
6
Click the [Scanner Driver (TWAIN)]
button.
To view information on the software, click the [Display
Readme] button.
).
7
Follow the on-screen instructions.
Read the message in the window that appears and click
the [Next] button.
8
When the finish setup window appears,
click the [OK] button.
*