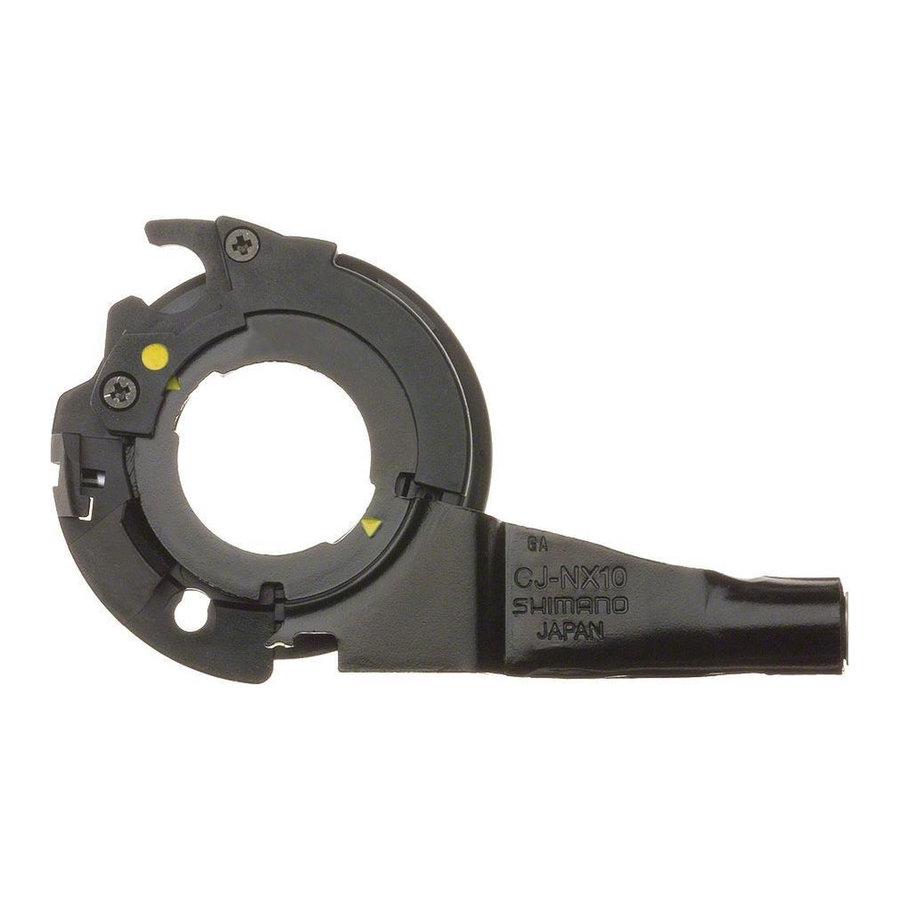
Shimano CJ-NX10 Инструкция по техническому обслуживанию - Страница 2
Просмотреть онлайн или скачать pdf Инструкция по техническому обслуживанию для Аксессуары для велосипедов Shimano CJ-NX10. Shimano CJ-NX10 4 страницы. Inter-7 hub; cassette joint
Также для Shimano CJ-NX10: Инструкции по обслуживанию (1 страниц)

SG-7C26
SG-7C18
SG-7C16
CJ-NX10
Technical Service Instructions
Be sure to read these service instructions in
conjunction with the service instructions for the
Inter-7 shifting lever before use.
Installation of the sprocket to the
hub
Place right hand dust cap C onto the driver on the right side
of the hub body. Next, install the sprocket and secure it in
place with the snap ring.
Note the
direction
SI-7C26B
Inter-7 Hub
with Coaster Brake
Cassette Joint
Snap ring
Sprocket
Right hand
dust cap C
Driver
Installation of the cassette joint to
the hub
1.
Install the driver cap to the driver to the right side of the
hub body. Next, turn the cassette joint pulley in the
direction of the arrow so that the yellow
aligned with the yellow
marks on the cassette joint with the yellow
the right side of the hub body.
Should be
aligned
Pulley
CJ-NX10
JAPAN
Driver cap
Note the
direction
Yellow
2.
1)
Secure the cassette joint to the hub with the cassette
joint fixing ring. When installing the cassette joint
fixing ring, align the yellow
mark on the cassette joint pulley.
Align the yellow
marks to install.
Cassette joint pulley
2)
After installing the cassette joint fixing ring, turn it 45
clockwise.
CJ-NX10
Fit the cassette joint
bracket securely.
mark is
mark, and then align the yellow
marks on
Yellow
marks
Cassette
joint
CJ-NX10
JAPAN
Driver
marks
mark with the yellow
Cassette joint fixing ring
CJ-NX10
JAPAN
Turn 45
Cassette joint fixing ring
JAPAN
