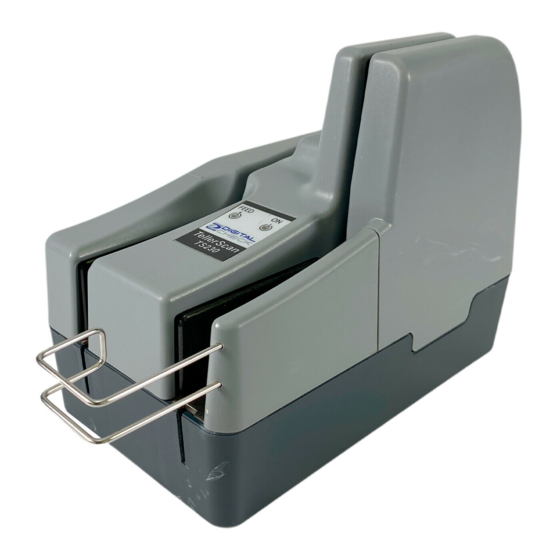
Digital Check TS-230 Руководство по уборке - Страница 2
Просмотреть онлайн или скачать pdf Руководство по уборке для Сканер Digital Check TS-230. Digital Check TS-230 2 страницы. Remote deposit scanner

Remote Deposit Scanner Cleaning Guide
Camera Cleaning Instructions for Digital Check TS-230/TS-240 Scanner
Unlike the feed roller cleaning procedure that should be run
after 2,000 documents have been scanned, this procedure
should only be performed when the document images are
unclear, blurry, distorted, or have a dark line running
through every image. These symptoms indicate that the
scanner's camera faceplate are dirty.
1. Pull out the wire document stop guide (Figure 4).
Pull Out Wire Document Guide
2. Remove the scanner's left side cover. Put your finger-
tips under both ends and lift it straight up until it is free
(Figure 5).
3. Remove the right side cover next.
Remove Scanner Side Covers
4. Locate the white nylon knob or "finger screw" that
holds the outside camera faceplate in place (Figure 6).
Warning:
Do not try to adjust your scanner with a screw driver. Call Treasury Support at 1-855-342-3400.
Please keep these instructions under your scanner.
Nylon "Finger Screw"
5. Carefully turn the plastic screw counterclockwise until
you remove it. This allows the outside camera
faceplate to be swung outward for cleaning (Figure 7).
6. Use the cleaning swab or a cleaning wipe to clean the
camera faceplate (the two white strips on both sides of
the camera faceplate section of the scanner). See
Figure 7 and Figure 8.
Use Swab to Clean White Camera
Faceplate Surfaces
Use Cleaning Wipe to Clean White
Camera Faceplate Surfaces
7. Reassemble the scanner.
a. Close the camera faceplate panel.
b. Carefully replace the plastic screw and turn it
clockwise until it is all the way in.
c. Position the right corner cover in place and
gently slide it down until it is firmly in place.
d. Put the left side cover into place, and press
down to snap it into place.
Note: The surface of each cover section should be flush
with the surface of the scanner's base, and with the
adjacent sections of cover. If they are not, lift the
section up to remove it, and try again.
e. Push the wire document stop guide back into
its regular position.
