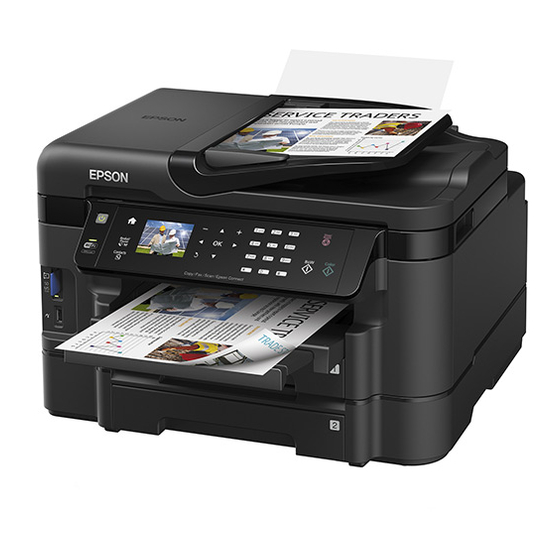
Epson WorkForce WF-3520 Начните здесь - Страница 2
Просмотреть онлайн или скачать pdf Начните здесь для Принтер Epson WorkForce WF-3520. Epson WorkForce WF-3520 4 страницы. Epson workforce wf-3520 all-in-one printer
Также для Epson WorkForce WF-3520: Краткое руководство (45 страниц), Руководство по эксплуатации (7 страниц), Технические характеристики (2 страниц), Руководство пользователя (4 страниц), (Руководство по установке (4 страниц)
5
Insert the cartridges in the holder for each color. Press
each cartridge down until it clicks.
6
Close the cartridge cover. Press down until it clicks.
Then lower the scanner unit.
7
Ink priming begins. This takes about 6 minutes.
Note:
Your printer ships with full cartridges and part of the ink
from the first cartridges is used for priming the printer.
Caution:
Don't turn off the printer while it is priming or you'll
waste ink.
5
Load paper
For instructions on loading envelopes, photo paper, or legal-
size paper, or using the rear feed slot, see the online User's
Guide.
1
Pull out the paper cassette.
2
Squeeze and slide out the edge guides.
3
Insert the paper with the glossy or printable side
facedown.
Note:
Make sure the paper is loaded against the edge guide
and not sticking out from the end of the cassette.
4
Slide the edge guides against the paper, but not too
tight. Make sure the paper is under the tabs on the edge
guides.
5
Gently insert the paper cassette.
Note:
The paper may slide forward slightly as you insert the
cassette. This is normal.
6
Extend the output tray and raise the stopper as shown.
6
Connect the fax line
To fax, connect the phone cord to a telephone wall jack and
to the LINE port on your product. To connect a telephone or
answering machine, use the EXT. port on your product. See
the Quick Guide for more details.
Note:
If you're connecting to a DSL phone line, you must use a DSL
filter or you won't be able to fax. Contact your DSL provider for the
necessary filter.