Siemens Simatic S7-300 Начало работы - Страница 4

Просмотреть онлайн или скачать pdf Начало работы для Промышленное оборудование Siemens Simatic S7-300. Siemens Simatic S7-300 8 страниц. Automation systems, controlling a physical axis
Также для Siemens Simatic S7-300: Руководство пользователя (34 страниц), Руководство (21 страниц), Инструкция по эксплуатации (4 страниц), Инструкция по эксплуатации (5 страниц), Руководство (35 страниц), Начало работы (16 страниц), Описание приложения (24 страниц), Руководство (18 страниц), Руководство (32 страниц), Руководство по установке и оборудованию (20 страниц), Начало работы (32 страниц)
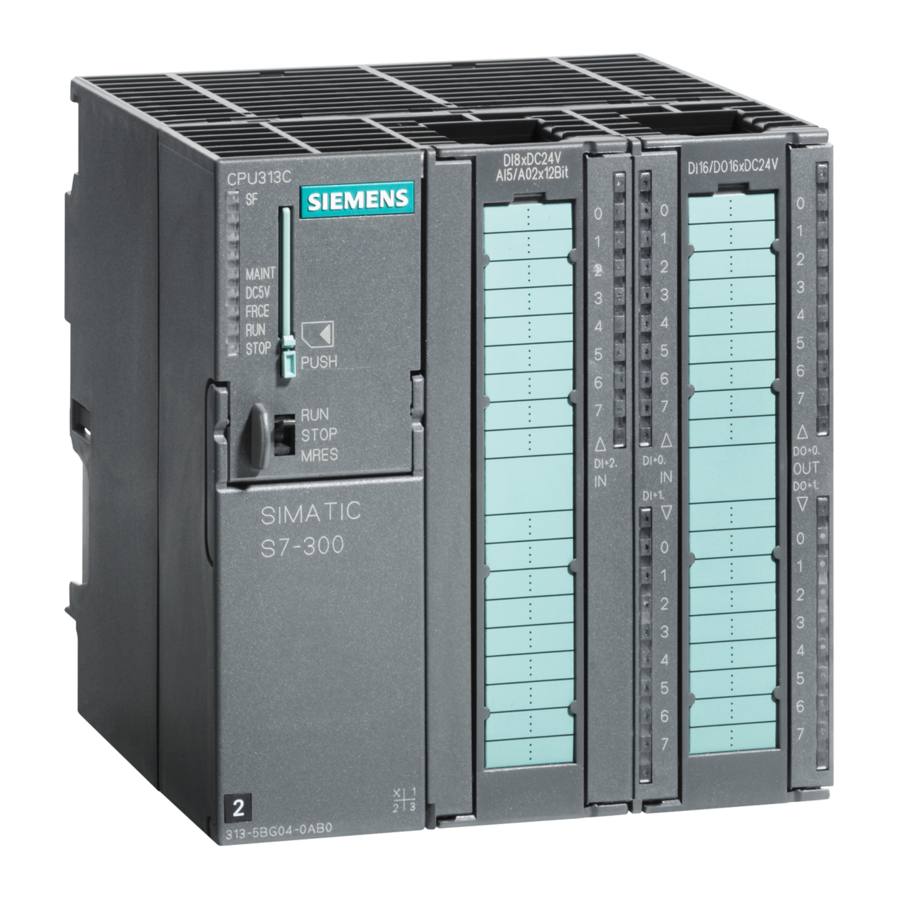
Siemens Simatic S7-300 Начало работы
Step 2: Wiring
Warning
!
You can come into contact with live wires if the PS 307 is switched on or the PS network ca-
ble is connected to the power.
Only wire the S7-300 in a deenergized state!
Stage
1
Open the front doors of the PS and the CPU.
2
Loosen the clamp for the PS strain relief (see the figure on page 3).
3
Strip the power cable, attach wire-end ferrules, if necessary (for multi-wire cables), and attach to the PS.
4
Tighten the clamp for the strain relief.
5
Insert the power connector in the PS and CPU (see the figure on page 3) and tighten.
6
Check that the line voltage selector switch is set to your line voltage.
The CPU is set in the factory to a line voltage of AC 230 V. To change the voltage, proceed as follows:
Remove the protective cap with a screwdriver, set the switch to the line voltage required and replace the
protective cap.
4
Figure
2
1
3
0.8 to 1.1 Nm
Wiring the Power Supply and the CPU
S7-300 Programmable Controller, Getting Started, First Steps for Installation and Commissioning
Installing the Modules on the Rail
1. Remove the bus connector from the "last"
module (=DO) and insert it in the CPU. Do
not insert a bus connector on the DO during
installation.
2. Attach the PS, push it up to the grounding
screw of the rail and tighten it.
3. Attach the CPU (1), push it up to the module
on the left (2) and tip it downward (3).
4. Screw the module on tightly.
5. Insert the second bus connector on the DI.
6. Repeat steps 3 and 4 for the remaining mo-
dules.
A5E00069340 01 // 04/2000