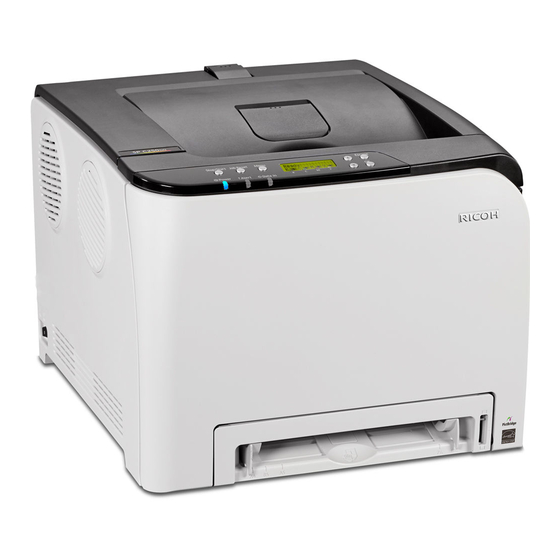
Ricoh SP C252DN Руководство по началу работы - Страница 34
Просмотреть онлайн или скачать pdf Руководство по началу работы для Принтер "все в одном Ricoh SP C252DN. Ricoh SP C252DN 42 страницы. Color laser printers
Также для Ricoh SP C252DN: Брошюра и технические характеристики (4 страниц), Руководство по эксплуатации (48 страниц)
Appendix
E
Fi router – PIN Method and Manual Method. These methods can be an alternative to the
if a Wi-Fi router does not support WPS or does not have a dedicated WPS button.
PIN Method
You can enable wireless communication by registering the device's PIN through the router's web page. In
order to successfully connect using this method, you need the device's PIN (instructions below) and the
router's URL/IP address. You'll need to log into the router's web page, so have your user name and
password ready. Once logged in, you can enter the device's PIN, thus establishing the printer as a client on
your wireless LAN.
Important:
For assistance with the router web page URL/IP address and login credentials, please contact your Wi-Fi
•
installer, corporate Help Desk or router manufacturer.
NETGEAR'S router web page is used for illustration purposes.
•
Before proceeding, please check the following:
Wireless router is working correctly, e.g., you can wirelessly connect to the Internet from your laptop.
•
Wi-Fi (Wireless LAN)
•
A cable (USB or Ethernet) is not connected to the printer.
•
Printer power switch is On.
•
To connect using the PIN Method, proceed as follows:
1. Launch web browser from computer connected to router.
a. Enter router URL/IP address, e.g., www.routerlogin.net.
b. Enter User Name and Password.
c. Press [OK].
Note: For NETGEAR routers, adding a WPS client (such as a printer) is
performed through the [ADVANCED] tab [WPS Wizard], as shown
below.
Other Wireless Setup Methods
There are other methods used to wirelessly network the printer to your computer using a Wi-
and
IP Address (DHCP)
RICOH SP C250DN/SP C252DN Color Laser Printers
settings are enabled ("Active"). See p10, steps and .
Getting Started Guide
PBC (WPS) Method
34