Ricoh SP 210SF Руководство по настройке - Страница 7

Просмотреть онлайн или скачать pdf Руководство по настройке для Принтер Ricoh SP 210SF. Ricoh SP 210SF 25 страниц.
Также для Ricoh SP 210SF: Руководство по настройке (25 страниц), Руководство по настройке (24 страниц), Руководство по настройке (24 страниц), Руководство по настройке (24 страниц), Руководство по настройке (24 страниц), Руководство по настройке (24 страниц), Руководство по настройке (24 страниц)
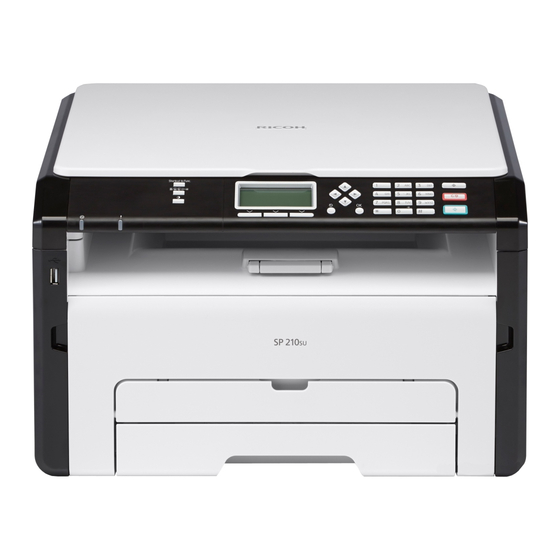
Ricoh SP 210SF Руководство по настройке
Setting the Outside Line Ac-
cess Number
If you have selected PBX, use the following
procedure.
Press the [
Press the [ ] or [ ] keys to select
[Admin. Tools], and then press the
[OK] key.
Press the [ ] or [ ] keys to select
[PBX Access Number], and then press
the [OK] key.
Enter the outside line access number
using the number keys, and then
press the [OK] key.
Press the [
initial screen.
] key.
] key to return to the
Basic Operation for Sending a
Fax
Press the [
Place the original on the exposure
glass or in the ADF.
Enter the fax number using the
number keys.
Press the [
Depending on the machine's settings,
you may be prompted to enter the fax
number again if you manually entered the
destination fax number. In this case, re-
enter the fax number within 60 seconds,
press [OK], and then press the [
If the fax numbers do not match, go back
to step 3.
If you have more originals to scan,
press [Yes] within 60 seconds, place
the next original on the exposure
glass, and then press [OK]. Re-
peat this step until all originals are
scanned.
When all originals have been scanned,
press [No] to start sending the fax.
7
] key.
] key.
DCT806
DCT804
] key.