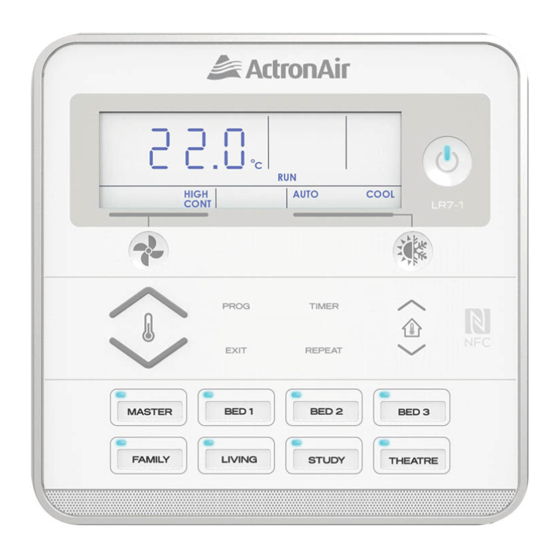
ActronAir LC7-2W Руководство по установке - Страница 3
Просмотреть онлайн или скачать pdf Руководство по установке для Блок управления ActronAir LC7-2W. ActronAir LC7-2W 8 страниц. Wall control

Installation Guide
03. Installation
1. Remove back cover, as shown in the diagram below
• Insert and gently twist screwdriver into the slot at the top
and the bottom of the Control Interface. Do this procedure
alternately between the four slots until the back cover of the
control separates.
• Use large enough flat blade screwdriver to fit into the slot in
order to avoid damaging the Control Interface.
SLOTS
BACK COVER
1
2
3
4
5
3. Connect wiring at the back of Control Interface
• Ensure that all wiring is tightly connected. All wiring must be
in accordance with the provided wiring diagram.
WALL CONTROL WIRING
POWER: - BROWN / ORANGE
485 A:
- BLUE
485 B:
- BLUE-WHITE
GND:
- BROWN-WHITE / ORANGE-WHITE
NOT USED: - GREEN / GREEN-WHITE
5. Select zone buttons
• Remove the relevant zone buttons for zone name to be
allocated and attach to wall control.
• Ensure the buttons make a 'click' sound when attached to the
PCB casing.
BUTTON PAD
NOTE
Front cover can be removed even after installation. Press at
the bottom of the control interface and pull the front cover.
PCB CASING
SLOTS
BROWN-WHITE /
ORANGE - WHITE
BLUE / WHITE
BLUE
BROWN / ORANGE
POWER
485 A
485 B
GND
CUT OFF AND
DO NOT CONNECT
GREEN/GREEN-WHITE PAIR
PCB CASING
BUTTONS
1
2
3
4
5
BACK
COVER
LC7-2 Control Interface Insert
Document: 9590-3024 Ver. 2 200702
LC7-2 Control Interface
2. Mount back cover to the wall
• Mount the back cover to the wall with screws (not
supplied) via screw holes. If required, the use of a
plasterboard mounting bracket (not supplied) is
recommended to mount the back cover to the wall.
• Ensure that the Control Interface back cover is aligned
and leveled on the wall before tightening the screws.
LC7-2
BACK COVER
PLASTERBOARD
MOUNTING BRACKET
SCREW HOLES
4. Attach PCB casing to the back cover
• Attach the PCB casing by aligning with the back cover
mounted on the wall.
• Ensure the PCB casing makes a 'click' sound after
mounting.
BACK COVER
6. Attach the front cover, as shown in the diagram
below
• After attaching the front cover, check that the Control
Interface is aligned and leveled on the wall.
ZONE
BACK COVER
AS MOUNTED
ON THE WALL
1
2
3
4
5
PCB CASING
1
2
3
4
5
FRONT COVER
03
