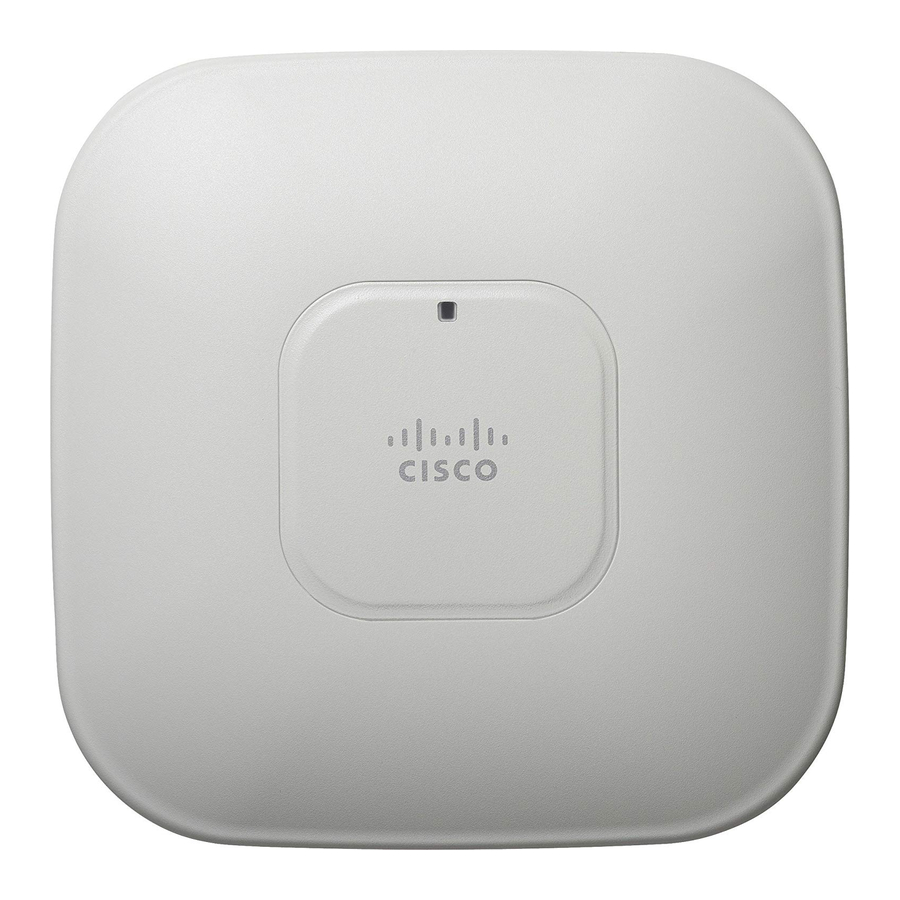
Cisco AIR-AP1142N-E-K9 Руководство по началу работы - Страница 6
Просмотреть онлайн или скачать pdf Руководство по началу работы для Беспроводная точка доступа Cisco AIR-AP1142N-E-K9. Cisco AIR-AP1142N-E-K9 37 страниц. Autonomous access point

Performing a Site Survey
Before you mount and deploy your access point, we recommend that you perform a site survey (or use
a site planning tool) to determine the best location to install your access point.
You should have the following information about your wireless network available:
• Access point locations.
• Access point mounting options: below a suspended ceiling, on a flat horizontal surface, or on a
desktop.
You can mount the access point above a suspended ceiling but you must purchase
Note
additional mounting hardware: See the "Mounting the Access Point" section on page 9
for additional information.
• Access point power options: power supplied by a DC power supply, PoE from a network device,
or a PoE power injector/hub (usually located in a wiring closet).
Access points mounted in a building's environmental airspace must be powered using PoE
Note
to comply with safety regulations.
Cisco recommends that you make a site map showing access point locations so that you can record the
device MAC addresses from each location and return them to the person who is planning or managing
your wireless network.
4
Obtaining and Assigning an IP Address
To browse to the access point Express Setup page, you must either obtain or assign the access point IP
address using one of these methods:
The access point does not have a default IP address.
Note
• Assign a static IP address by connecting to its console port and accessing the access point CLI.
• Use a DHCP server (if available) to automatically assign an IP address. You can find out the
DHCP-assigned IP address by using one of the following methods:
Connect to the access point console port and use a Cisco IOS command to display the IP
–
address, such as show interface bvi1.
6
