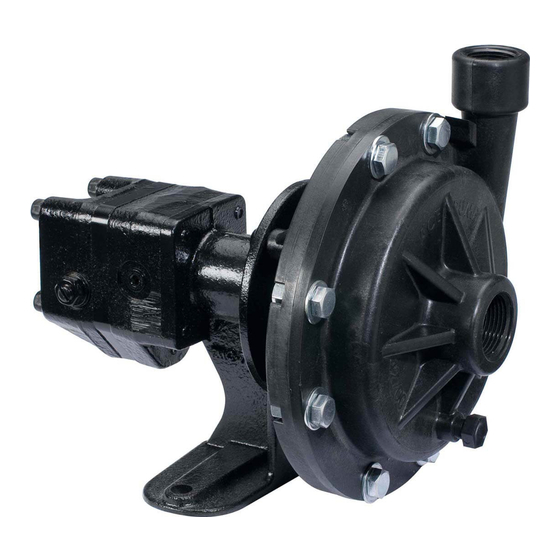
Ace FMC-150FS-HYD Series Руководство по эксплуатации - Страница 9
Просмотреть онлайн или скачать pdf Руководство по эксплуатации для Водяной насос Ace FMC-150FS-HYD Series. Ace FMC-150FS-HYD Series 12 страниц. Hydraulic motor driven centrifugal pumps

ASSEMBLY INSTRUCTIONS
1.
Install forward internal bearing snap ring in mounting frame.
2.
Press in forward bearing from rear side of mounting frame
to snap ring.
3.
Install two external shaft retainer rings with spacer between
on shaft.
4.
Press shaft assembly through forward bearing until forward
shaft snap ring rests against inner face of forward bearing.
5.
Press rear bearing over shaft and into housing.
6.
Insert rear internal bearing snap ring.
7.
Slide rubber slinger over shaft and push back to front
bearing.
8.
Clean old sealant from mounting frame seal bore.
9.
Install O-ring in shaft groove.
10. Apply non-hardening Type 2 Permatex or similar under
stationary seal flange.
11. Place stationary portion of seal over shaft and press into seal
bore cavity. Use a 1-3/8" ID pipe or PTO adapter to press seal
flange evenly on all sides.
12. Install rotating portion of seal over shaft and O-ring by hand.
The two polished seal faces should face each other.
Avoid contacting the polished seal faces.
13. Apply anti seize compound to impeller seat area on the shaft
and key.
14. Insert key in keyway and install impeller on shaft.
15. Place lock washer and 3/8" lock nut on shaft and tighten nut.
16. Replace volute O-ring, volute, and four 3/8" x 3/4" cap screws.
17. Position seal support spacer in the cavity behind the pump
bearing and snap ring. The smaller diameter of the 200 series
spacer faces the motor. Fill the spacer hole halfway with
coupling grease.
18. Install motor by aligning motor tang and coupler slot.
Rotate motor to proper orientation.
19. Install four 5/16" socket head cap screws and tighten to 15 ft. lb. torque.
MAINTENANCE AND STORAGE
1. Ace pumps are equipped with factory lubricated bearings and require no further lubrication.
2. If danger of freezing exists, drain the pump by removing the bottom volute pipe plug.
3. Neutralize chemicals and flush pump after each use to prevent corrosion.
4. Pump storage:
A. Flush out pump with clean water.
B. Fill pump with oil or recreational vehicle antifreeze to protect from corrosion and freezing.
C. Insert plugs in the motor hydraulic ports to retain some hydraulic fluid and prevent rusting.
7
Assembly Steps 1-6
Assembly Step 11
