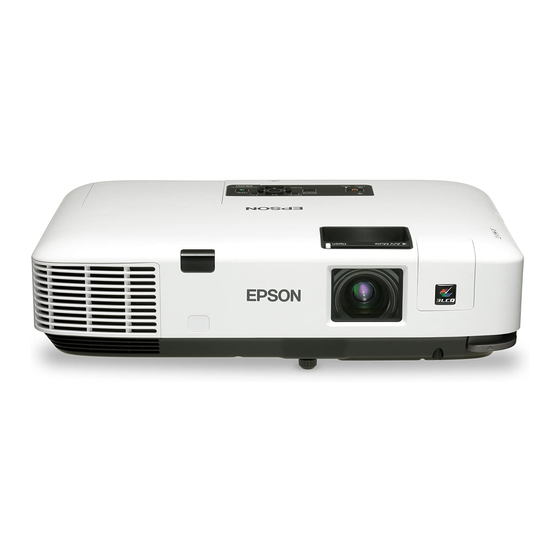
Epson VS400 Быстрая настройка
Просмотреть онлайн или скачать pdf Быстрая настройка для Проектор Epson VS400. Epson VS400 4 страницы. User replaceable parts list
Также для Epson VS400: Технические характеристики (4 страниц), Декларация о соответствии (4 страниц), Список деталей (1 страниц)

VS400
Quick Setup
Before using the projector, make sure you read the safety instructions in the
User's Guide on your projector CD.
Connect the projector
Choose from the following connections:
Computer Monitor Port
Connect a computer using the VGA cable that came with the projector.
Connect one end to the projector's Computer port, and the other end to
your computer's
monitor port. If you are using a notebook, switch it to
external display.
Computer USB Port
Connect a computer (Windows
®
using a USB cable.
Connect the square end of the USB cable to the projector's USB
port. Connect the flat end of the cable to any USB port on your computer.
After turning on the projector, follow the on-screen instructions to install the
Epson USB Display software. (You need to install the software only the first
time you connect.) Then press the USB button on the remote control to select
the image source.
*411913800*
*411913800*
2000 or later, 32-bit only) to the projector
Video Device
Connect up to 3 video devices and use the remote control to switch
between them.
RCA video cable
(composite video)
(optional)
Turn on your equipment
1
Turn on your computer or video source.
2
Plug in the projector.
The power light on the projector turns orange.
TypeB
3
Open the A/V Mute slide all the way.
4
Press the
power button on the projector or remote control.
The projector beeps, the power light flashes green, and then stays on.
NOTE: To shut down the projector, press the
unplug it. You don't have to wait for the projector to cool down.
Component
S-Video
Computer
video to
cable
cable
VGA cable
(optional)
(included)
(optional)
power button twice, then
