Cisco Aironet 350 Series Краткое руководство по эксплуатации - Страница 7

Просмотреть онлайн или скачать pdf Краткое руководство по эксплуатации для Беспроводная точка доступа Cisco Aironet 350 Series. Cisco Aironet 350 Series 16 страниц. Managed switches
Также для Cisco Aironet 350 Series: Краткое руководство по эксплуатации (12 страниц), Информация о выпуске (14 страниц), Краткое руководство по эксплуатации (12 страниц), Краткое руководство по эксплуатации (12 страниц), Краткое руководство по эксплуатации (2 страниц), Руководство (10 страниц), Узнать (16 страниц), Краткое руководство по эксплуатации (5 страниц)
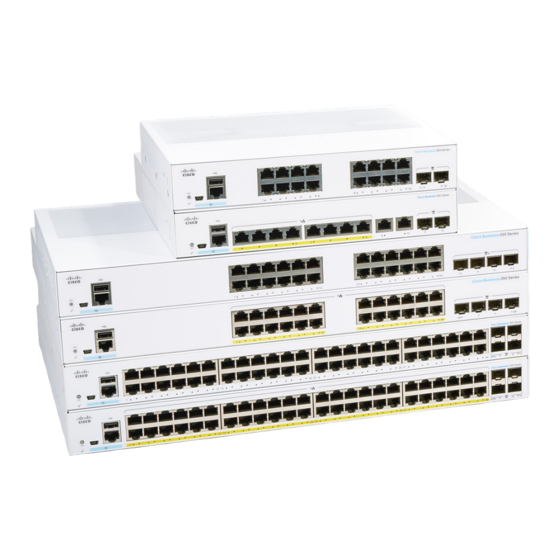
Cisco Aironet 350 Series Краткое руководство по эксплуатации
Determine Configuration Method (continued)
Configuration through a Wired LAN
Note
If the bridge is connected to the wired LAN and is communicating with an access point
on the same LAN, a network problem known as a bridge loop can occur. Avoid a bridge loop
by disconnecting the bridge from the wired LAN immediately after you configure it. For more
information on bridge loops, refer to the Cisco Aironet Workgroup Bridge Hardware
Installation Guide.
1
Use a straight-through Ethernet
cable to connect the bridge to a
standard port on a hub on your
wired network.
2
Plug in the bridge's power
adapter. The bridge receives a
DHCP-assigned IP address.
3
Double-click the IPSU icon on
5
your desktop to start the utility.
4
When the utility window opens, make sure Get IP addr is selected in the Function box.
5
Enter the bridge's MAC address in the Device MAC ID field. The bridge's MAC address is
printed on the label on the bottom of the unit. It should contain six pairs of hexadecimal
digits. Your bridge's MAC address might look like the following example: 11223a4D5566.
Note
The MAC address field is not case-sensitive.
6
Click Get IP Address.
7
When the bridge's IP address appears in the IP Address field, write it down.
If IPSU reports that the IP address is 192.168.200.1, the default IP address, then the bridge
did not receive a DHCP-assigned IP address. To assign an IP address, go to Step 8. The
computer you use to assign an IP address to the bridge must have an IP address of its own.
If you do not need to assign an address, skip to Step 13.
8
Make sure Set Parameters is selected in the Function box of the IPSU window.
9
Enter the bridge's MAC address in the Device MAC ID field.
Wired LAN
Hub on
wired LAN
1X 2X
ETHER NET
3X 4X
SPEED
100BaseT
LED
X SOLID
1
2
3
4
10BaseT
BLINK
5
6
7
8
5X
6X
7X
8X
MDI
MDI-X
Ethernet
cable
Workgroup
bridge
Workstation