Cisco ASA 5508-X Монтаж и подключение - Страница 2

Просмотреть онлайн или скачать pdf Монтаж и подключение для Беспроводная точка доступа Cisco ASA 5508-X. Cisco ASA 5508-X 6 страниц. Threat defense reimage guide
Также для Cisco ASA 5508-X: Руководство по установке оборудования (32 страниц), Краткое руководство по эксплуатации (8 страниц), Руководство по простой настройке (11 страниц), Краткое руководство по эксплуатации (9 страниц), Руководство по программному обеспечению (37 страниц), Руководство (14 страниц)
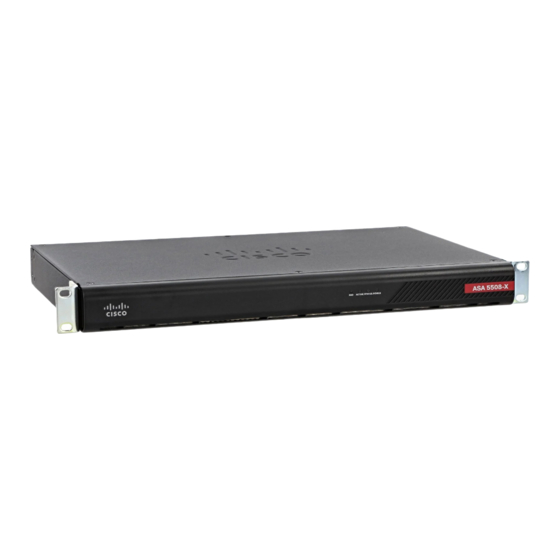
Cisco ASA 5508-X Монтаж и подключение

Connect Cables, Turn on Power, and Verify Connectivity

Figure 1: Chassis Installed in the Rack
What to do next
You can now install the cables and power cord, as described in
Connectivity, on page
Connect Cables, Turn on Power, and Verify Connectivity
After positioning or mounting the ASA, follow these steps to connect cables, turn on power, and verify
connectivity:
Step 1
Connect the network cables:
a) Management interface – Using this Management 1/1 Gigabit Ethernet port, you can connect a management computer
directly with an Ethernet cable, or you can connect the computer and the ASA to the same management network. Be
sure the PC is configured to obtain an IP address using DHCP.
You can configure any of the Gigabit Ethernet interfaces to be a management-only interface using the
management-only command. However, you cannot disable management-only mode on the Management 1/1 interface.
The following figure shows how to connect the network cables.
Mount and Connect
2
2.
Mount and Connect
Connect Cables, Turn on Power, and Verify