Cisco Small Business WAP561 Быстрый старт - Страница 4
Просмотреть онлайн или скачать pdf Быстрый старт для Беспроводная точка доступа Cisco Small Business WAP561. Cisco Small Business WAP561 13 страниц. Reboot and reset to factory default settings
Также для Cisco Small Business WAP561: Информационный лист (8 страниц), Обзор (6 страниц), Брошюра и технические характеристики (4 страниц), Краткое руководство по эксплуатации (13 страниц), Руководство (4 страниц)
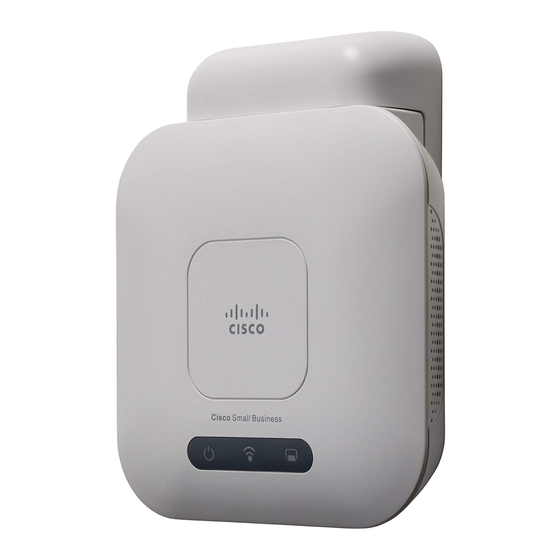
Mounting the Cisco WAP551 and WAP561
3
Wireless-N Access Points
You can place your access point on a desktop, or mount it on a wall or
ceiling.
Placement Tips
• Ambient Temperature—To prevent the access point from overheating,
do not operate it in an area that exceeds an ambient temperature of
104°F (40°C).
• Air Flow—Both side panels have vents which must be unobstructed to
prevent overheating.
• Mechanical Loading—The device should be level, stable, and secure
to prevent it from sliding or shifting out of position.
Wall and Ceiling Mounting
The Cisco WAP551 and WAP561 can be wall or ceiling-mounted. There is
a mounting kit packed with your device. The kit is designed to install your
device to the wall or the ceiling.
The mounting bracket has some flexibility so that you can reuse existing
holes drilled for a Cisco WAP121 or WAP321 device. The installer can
remove the Cisco WAP121 or WAP321 and mount the Cisco WAP5xx.
The dimensions for the mount kit screws are as follows:
2
1 7.8 to 8.3 mm/
.31 to .33 in
Insecure mounting might damage the device or cause injury.
W
ARNING
Cisco is not responsible for damages incurred by insecure wall
or ceiling mounting.
4
1
3
2 21.8 to 22.3 mm/
.86 to .88 in
Cisco Small Business WAP500 Series Wireless Access Point
4
3 5.5 to 6.0 mm/
.22 to .24 in
4 17.5 to 18.2mm/
.69 to .72 in