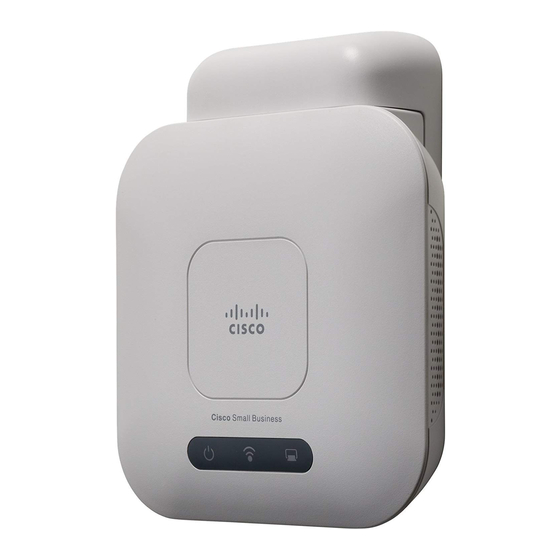
Cisco WAP351 Краткое руководство по эксплуатации - Страница 4
Просмотреть онлайн или скачать pdf Краткое руководство по эксплуатации для Беспроводная точка доступа Cisco WAP351. Cisco WAP351 13 страниц. Reboot and reset factory default settings
Также для Cisco WAP351: Руководство (4 страниц), Заводской сброс (4 страниц)

• Mechanical Loading—The Cisco WAP351 should be level, stable, and
secure to prevent it from sliding or shifting out of position.
Wall and Ceiling Mounting
The Cisco WAP351 can be wall- or ceiling-mounted. A mounting kit is
packaged with your Cisco WAP351. The kit is designed to install your
Cisco WAP351 to the wall or the ceiling.
The mounting bracket has some flexibility so that you can reuse existing
holes drilled for the Cisco WAP351.
The dimensions for the mount kit screws are as follows:
1
2
1 0.33 in
(7.7 mm)
Insecure mounting may damage the device or cause injury.
W
ARNING
Cisco is not responsible for damages incurred by insecure wall
or ceiling mounting.
To mount the Cisco WAP351 to a wall or ceiling:
Determine where you want to mount the Cisco WAP351. Verify that
S
1
TEP
the surface is smooth, flat, dry, and sturdy.
Drill two pilot holes into the surface 2.75 inches (70 mm) apart.
S
2
TEP
Insert a screw into each hole, leaving a gap between the surface
S
3
TEP
and the base of the screw head.
Place the upper slots of the bracket over the screws, adjust the
S
4
TEP
screws accordingly, and slide the bracket down until the screws fit
snugly into the slots.
Using the bracket as a template, drill two more holes for the lower
S
5
TEP
screws.
Insert a screw into each lower hole.
S
6
TEP
4
3
4
2 0.86 in
(21.8 mm)
3 0.26 in
(6.5 mm)
Cisco WAP351 Quick Start Guide
4 0.69 in
(17.4 mm)
