CABINETS TO GO Findley & Myers WD2442 Инструкции по сборке - Страница 3
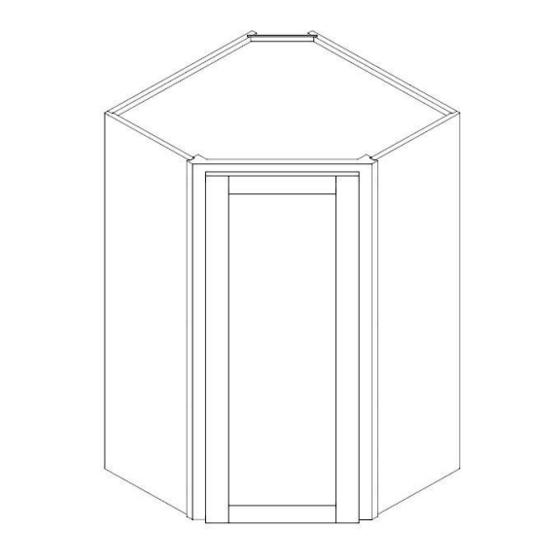
Просмотреть онлайн или скачать pdf Инструкции по сборке для Внутренняя отделка CABINETS TO GO Findley & Myers WD2442. CABINETS TO GO Findley & Myers WD2442 4 страницы. Wall diagonal cabinets
Также для CABINETS TO GO Findley & Myers WD2442: Инструкция по сборке Руководство (7 страниц)

2.
Installing the Front Side Panels (B1 & B2): Insert the right and left front side panels into the
grooves of face frame (A) and align the cam lock connectors (Figure 2). Lock the cam lock with a
screwdriver by turning the screw 180° clockwise (Figure 3)
3.
Installing the Top and Bottom (Figure 4): Gently spread side panels and insert the top & bottom panels (D) into the
grooves of side panels (B1 & B2) until it touches the face frame (A). Well align it and lock each cam.
4.
Installing the Rear Side Panels B-2 (Figure 5) Position the rear side panels (C1 & C2) so that the
panel connectors align to the top panel (D), bottom panel (D), and front side panels (B1 & B2). Gently
work the panels into position. Make sure that it fits well and lock the cam lock connectors. (Figure 3)
5.
Installing the Back Panel (Figure 6): Slide the back panel (E) into grooves of rear side panels (C1 & C2)
Make sure the finished side of panel is towards the inside of the cabinet. Once the back panel is assigned and
fitted tight, secure it with 1 " Back Panel Screws (c) into the pre-drilled holes on the back panel (Figure 7).
c
4
Qty
6.
Installing the corner braces (Figure 8):Place the corner braces (f) on each top front corner and bottom front corner of the
cabinet and secure them with 1/2" corner brace screws (b). Attach corner braces (g) where needed.
b
f
g
20
6
Q ty
Q
t
y
4
Qty
7.
Insert the shelf clips (h) into the adjustable shelf holes in the cabinet side panels at the desired heights and slide in the
shelves. Attach the round bumpers (a) to the inside of the door where it touches the frame.
h
a
12
2
Qty
Qty
Figure 2
D
A
C1
D
D
E
C2
Figure 6
f
Page 3
D
Figure 4
C2
Figure 5
c
D
Figure 8
d
Q
t
y
8
Figure 3
C2
Figure 7
e
(d) and (e) are for
attaching the cabinet to
the wall.
Q
t
y
8
