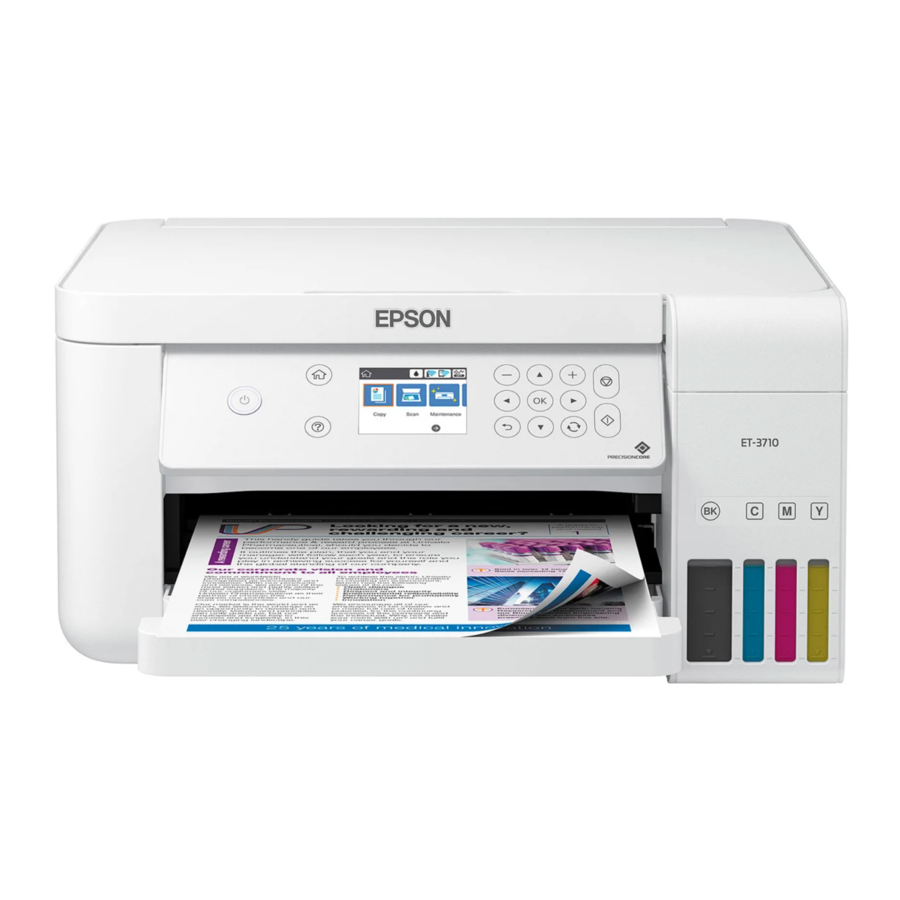
Epson ET-3710 Начните здесь - Страница 2
Просмотреть онлайн или скачать pdf Начните здесь для Принтер "все в одном Epson ET-3710. Epson ET-3710 4 страницы.

6
Close the ink tank cap.
7
Repeat the previous steps for the other colors.
8
Close the ink tank cover and then the scanner unit.
9
Connect the power cord to the back of the product and to
an electrical outlet.
Caution:
Do not connect to your computer yet.
10
Raise the control panel, then press the
turn on the product.
Note:
If an error message appears, turn off the product and
check that no protective material has been left inside the product.
11
Press
or
to select your language on the LCD screen,
then press the OK button.
Note:
You can change this setting later using the product's
control panel. For more information, see the online User's Guide.
Follow steps 12 and 13 to continue ink charging.
12
When the message to see the Start Here sheet appears
on the LCD screen, press the OK button. On the next
screen, press and hold the
power button to
help button for 3 seconds.
13
When the message to start initialization appears on the
LCD screen, press the OK button to start charging the ink.
Ink charging takes approximately 10 minutes. A message
appears when ink charging is complete. Press the OK
button to continue.
Caution:
Do not turn off the product, raise the scanner unit, or
load paper while the product is charging or you'll waste ink.
Note:
The included ink bottles are designed for reliable printer
setup and cannot be resold. After setup, the remaining ink is
available for printing.
14
To complete filling the ink tanks, repeat steps 1 through 7
using the remaining ink in the bottles.
Note:
Replace the bottle caps before disposing of the bottles.
15
Close the ink tank cover and scanner unit.
16
Select Next and press the OK button. Follow the
on-screen instructions to reset the ink levels.
17
Follow the on-screen instructions to adjust the print
quality. Press the OK button to continue.
Note:
• You need to load paper before you can adjust the print quality. See
"Load paper" below for details.
• You can change these settings later using the product's control
panel. For more information, see the online User's Guide.
3
Load paper
See the online User's Guide for information about loading
capacity, available paper types and sizes, and loading
envelopes.
1
Make sure the product is not charging ink, and then open
the front of the paper cassette and pull out the paper
cassette.
2
Slide the side edge guides all the way out.
