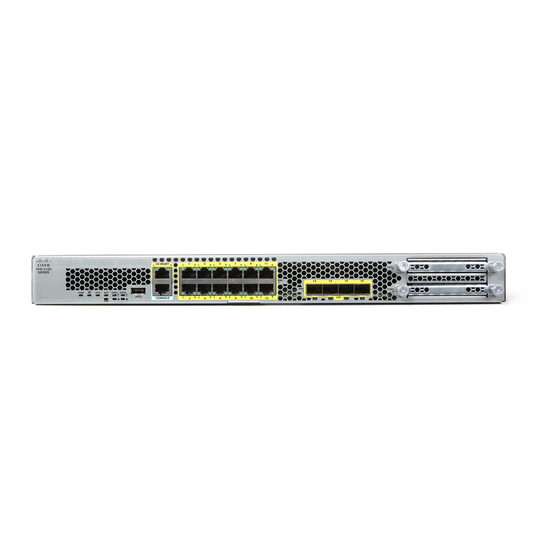
Cisco Firepower 2120 Начало работы - Страница 25
Просмотреть онлайн или скачать pdf Начало работы для Сетевое оборудование Cisco Firepower 2120. Cisco Firepower 2120 42 страницы. Rack-mount and ground the chassis
Также для Cisco Firepower 2120: Руководство (12 страниц), Руководство по развертыванию (8 страниц)

Getting Started
What to do next
• If you want to use features covered by optional licenses, such as category-based URL filtering, intrusion
• Connect the other data interfaces to distinct networks and configure the interfaces. For information on
• If you are managing the device through the inside interface, and you want to open CLI sessions through
• Go through the use cases to learn how to use the product. See
What to Do if You Do Not Obtain an IP Address for the Outside Interface
The default device configuration includes a static IPv4 address for the inside interface. You cannot change
this address through the initial device setup wizard, although you can change it afterwards.
The default inside IP address might conflict with other networks attached to the device. This is especially true
if you use DHCP on the outside interface to obtain an address from your Internet Service Provider (ISP).
Some ISPs use the same subnet as the inside network as the address pool. Because you cannot have two data
interfaces with addresses on the same subnet, conflicting addresses from the ISP cannot be configured on the
outside interface.
If there is a conflict between the inside static IP address and the DHCP-provided address on the outside
interface, the connection diagram should show the outside interface as administratively UP, but with no IPv4
address.
The setup wizard will complete successfully in this case, and all the default NAT, access, and other policies
and settings will be configured. Simply follow the procedure below to eliminate the conflict.
Before you begin
Verify that you have a healthy connection to the ISP. Although a subnet conflict will prevent you from getting
an address on the outside interface, you will also fail to get one if you simply do not have a link to the ISP.
Procedure
Step 1
Click Device, then click the link in the Interfaces summary.
Step 2
Mouse over the Actions column for the inside interface and click the edit icon (
Step 3
On the IPv4 Address tab, enter a static address on a unique subnet, for example, 192.168.2.1/24 or
192.168.46.1/24. Note that the default management address is 192.168.45.45/24, so do not use that subnet.
You also have the option to use DHCP to obtain an address if you have a DHCP server already running on
the inside network. However, you must first click Delete in the DHCP SERVER IS DEFINED FOR THIS
INTERFACE group to remove the DHCP server from the interface.
Step 4
In the DHCP SERVER IS DEFINED FOR THIS INTERFACE area, click Edit and change the DHCP
pool to a range on the new subnet, for example, 192.168.2.5-192.168.2.254.
Step 5
Click OK to save the interface changes.
inspection, or malware prevention, enable the required licenses. See
Licenses.
configuring interfaces, see
How to Add a Subnet
the inside interface, open the inside interface to SSH connections. See
Access
List.
What to Do if You Do Not Obtain an IP Address for the Outside Interface
Enabling or Disabling Optional
and Interfaces.
Best Practices: Use Cases for
Configuring the Management
FTD.
).
Getting Started
25
