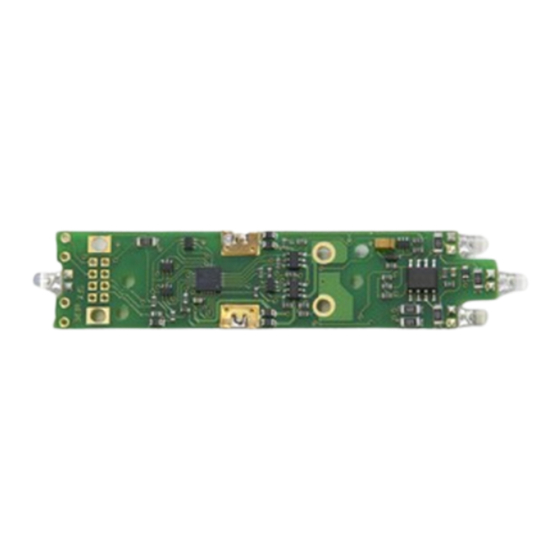
Digitrax DH165K1A Инструктивный лист - Страница 3
Просмотреть онлайн или скачать pdf Инструктивный лист для Медиаконвертер Digitrax DH165K1A. Digitrax DH165K1A 8 страниц. Board replacement decoder fits kato sd40-2, ac4400 locos, ho scale, mobile decoder

5. Decoder installation is the
reverse of what we've done so
far. Snap the decoder into place
over the motor clips. Be sure
motor clips are spread enough
to engage snugly in decoder-
holes. Secure the decoder with
screws. (Figure 4) Re-attach
Track Power Pickup wires
(Figure 5) and check Light Pipe
alignment (Figure 6) .
Spread Motor clip
pins if necessary.
Motor Clip pins must
fit snugly into decoder
PCB!
Track Pickup wires
must fully engage
clips. Insulation
should meet clip, but
not be underneath it.
5. Replace the locomotive shell.
6. Digitrax decoders are set up with configuration variable (CV) factory set-
tings so you can run your locomotive using address 03. This installation
will allow the loco to run short hood forward. To setup ditch lights to oper-
ate on F2/Horn key, program CV51=106 and CV52=107
C C u u s s t t o o m m i i z z i i n n g g Y Y o o u u r r D D e e c c o o d d e e r r
All Digitrax decoders can be customized for realistic operation. The most com-
monly used CVs, their default values and uses are listed below. The Digitrax
Decoder Manual, available on line at www.digitrax.com, contains complete
information on these and other CVs and CV values available.
C C h h a a n n g g i i n n g g t t h h e e D D e e c c o o d d e e r r A A d d d d r r e e s s s s
The first CV most people change is the decoder address so that the loco can be
independently controlled with it's own unique address. All Digitrax decoders
are shipped with CV01 (AD2), the two digit address, set to 03. See your Starter
Set Manual for complete programming instructions. Following is a brief
description of how to change the decoder address with a DT series throttles.
1. Place the loco on the programming track. Go into Program Mode on your
system. On DT400 press PROG. On DT300, DT100 & DT200 press
©2009 Digitrax, Inc
2 2 4 4 4 4 3 3 T T r r a a n n s s m m i i t t t t e e r r R R d d
P P a a n n a a m m a a C C i i t t y y , , F F L L U U S S A A 3 3 2 2 4 4 0 0 4 4
w w w w w w . . d d i i g g i i t t r r a a x x . . c c o o m m
Figure 5. Install Decoder
Motor clips must
fit snugly
Figure 4. Install Decoder
Figure 6. Install Decoder
www.digitrax.com
8 8 5 5 0 0 - - 8 8 7 7 2 2 - - 9 9 8 8 9 9 0 0
T T
8 8 5 5 0 0 - - 8 8 7 7 2 2 - - 9 9 5 5 5 5 7 7
F F
s s a a l l e e s s @ @ d d i i g g i i t t r r a a x x . . c c o o m m
E E
Attach track power
pickup wires to the
decoder
3
