Cisco APIC M4 Руководство по установке и обслуживанию - Страница 29
Просмотреть онлайн или скачать pdf Руководство по установке и обслуживанию для Сервер Cisco APIC M4. Cisco APIC M4 46 страниц.
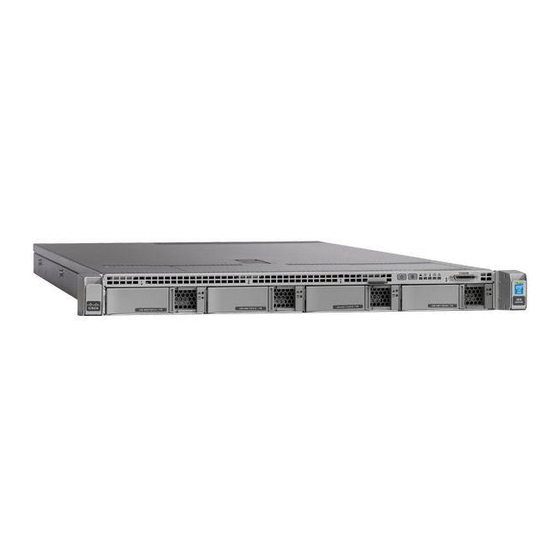
Installing the Server
Figure 11: Attaching the CMA to the Rear Ends of the Slide Rails
CMA tab on arm farthest from server attaches
1
to end of stationary outer slide rail.
2
CMA tab on arm closest to the server attaches
to end of inner slide rail attached to server.
Step 2
Slide the CMA tab that is closest to the server over the end of the inner rail that is attached to the server. Slide the tab
over the end of the rail until it clicks and locks
Step 3
Pull out the width-adjustment slider that is at the opposite end of the CMA assembly until it matches the width of your
rack.
Step 4
Slide the CMA tab that is at the end of the width-adjustment slider onto the end of the stationary slide rail that is attached
to the rack post. Slide the tab over the end of the rail until it clicks and locks.
Step 5
Open the hinged flap at the top of each plastic cable guide and route your cables through the cable guides as desired.
Reversing the Cable Management Arm (Optional)
Step 1
Rotate the entire CMA assembly 180 degrees, left-to-right. The plastic cable guides must remain pointing upward.
Step 2
Flip the tabs at the ends of the CMA arms so that they point toward the rear of the server.
Step 3
Pivot the tab that is at the end of the width-adjustment slider. Depress and hold the metal button on the outside of the tab
and pivot the tab 180 degrees so that it points toward the rear of the server.
Reversing the Cable Management Arm (Optional)
CMA tab on width-adjustment slider attaches
3
to end of stationary outer slide rail.
4
Rear of server
Cisco APIC M4/L4 Server Installation and Service Guide
25