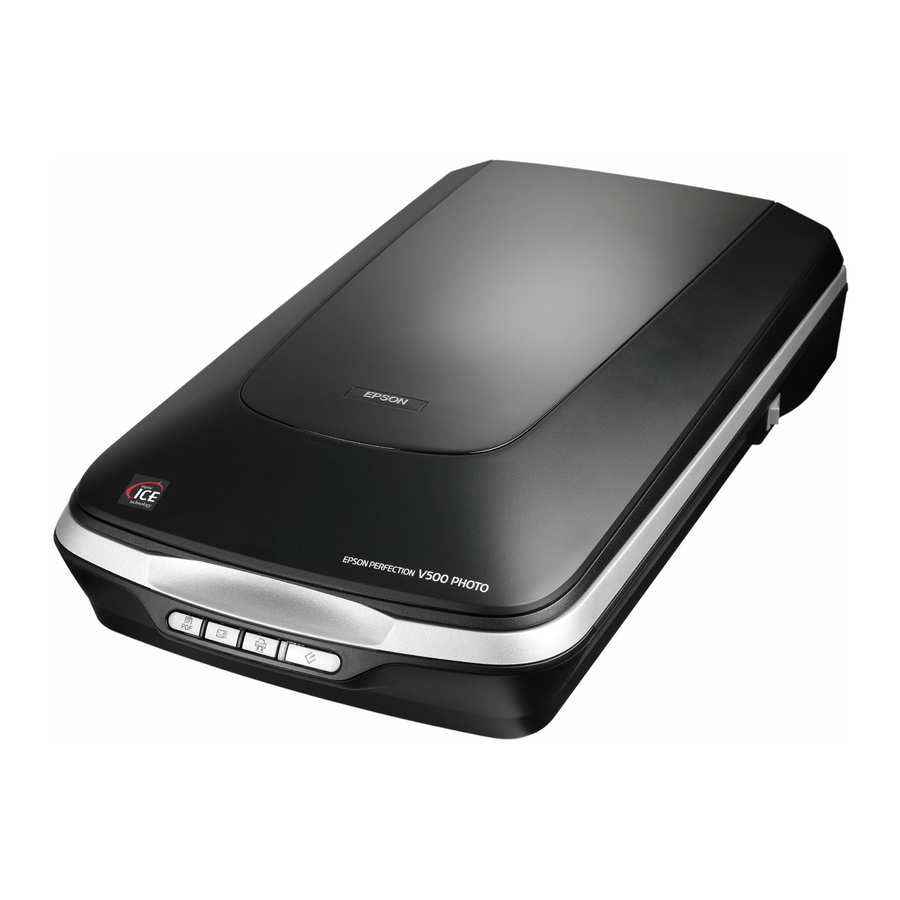
Epson B11B189011 Руководство по информации о продукте - Страница 4
Просмотреть онлайн или скачать pdf Руководство по информации о продукте для Сканер Epson B11B189011. Epson B11B189011 12 страниц. Epson perfection v500: product information
Также для Epson B11B189011: Начните здесь (2 страниц)

- 1. Scanner Parts
- 2. Optional Automatic Document Feeder
- 3. Scanner Specifications
- 4. Optional Automatic Document Feeder Specifications
- 5. Placing Originals
- 6. Placing Large or Thick Documents
- 7. Using the Scanner Buttons
- 8. Replacing the Document Mat
- 9. Using Epson Scan
- 10. Fixing Backlit Photos
- 11. Reading the Status Light
- 12. Transporting the Scanner
- 13. Related Documentation
Epson Perfection V500 Photo
2. Place your document or photo face-down on the document
table. Make sure the upper left corner of the document or
photo is against the rear right corner of the scanner, next to
the arrow mark.
3. An area 0.12 inch (3 mm) from the horizontal and the
vertical sides of the scanner glass cannot be scanned. If you
place a document in the corner of the document table,
move it down and in slightly to avoid cropping.
maximum
unreadable area of
0.12 inch (3 mm)
4. If you are scanning multiple photos at once, position each
photo at least 0.8 inch (20 mm) apart from the others.
5. Close the scanner cover gently so that your original does not
move.
4 - Epson Perfection V500 Photo
Note:
Always keep the document table clean.
Do not leave photos on the document table for an extended
period of time as they may stick to the glass.
To scan your document or photo, see "Scanning" on page 8.
Placing Large or Thick Documents
When you scan a large or thick document, you can remove the
scanner cover.
1. Turn off the scanner using its power switch.
2. Disconnect the cover cable.
3. Open the scanner cover.
7/07
