Cisco ATA 186 Конфигурация - Страница 18

Просмотреть онлайн или скачать pdf Конфигурация для Шлюз Cisco ATA 186. Cisco ATA 186 28 страниц. Analog telephone adaptor
Также для Cisco ATA 186: Информационный лист (7 страниц), Обзор (11 страниц), Обзорное руководство (11 страниц), Руководство по конфигурации (8 страниц), Руководство пользователя (12 страниц), Руководство по установке и настройке (13 страниц), Инструкции по установке (6 страниц), Конфигурация (6 страниц)
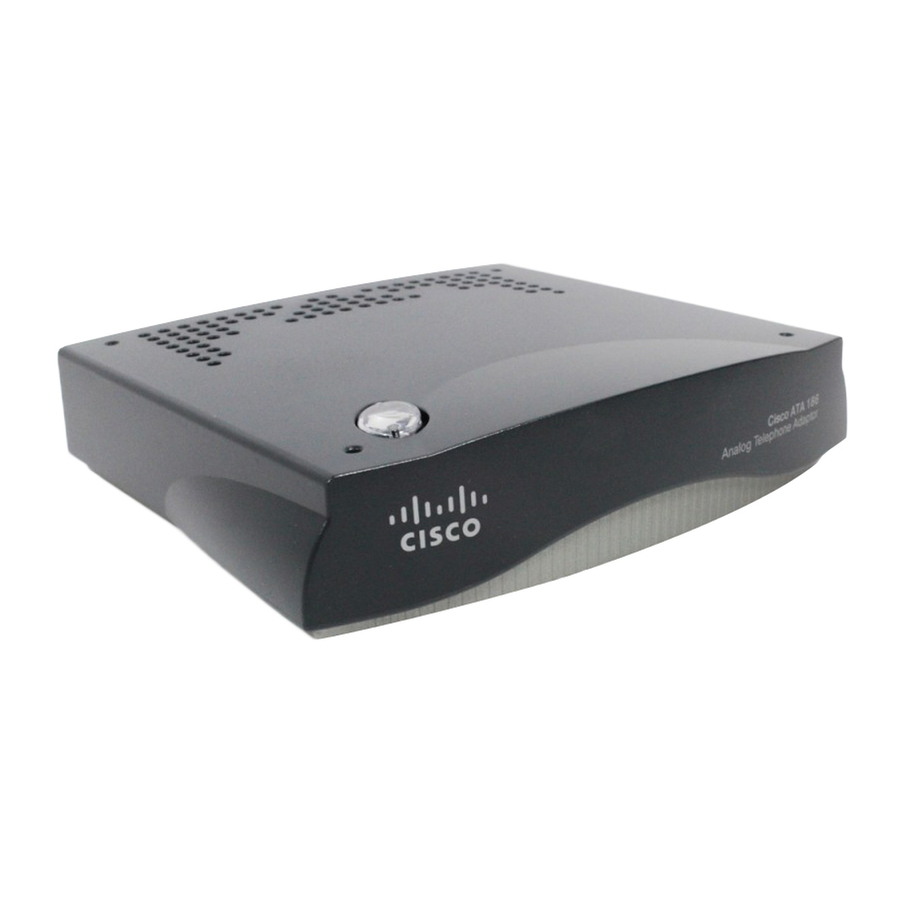
Cisco ATA 186 Конфигурация
(Cisco ATA 188 only—optional) Connect a
Step 5
straight-through Ethernet cable from your PC to the
10/100 PC RJ-45 connector on the Cisco ATA.
Connect the socket end of the power cord to the 5V DC
Step 6
power adaptor.
Insert the power adaptor cable into the power
Step 7
connector on the Cisco ATA.
Warning
This product relies on the building's installation
for short-circuit (overcurrent) protection. Ensure
that a fuse or circuit breaker no larger than 120
VAC, 15A U.S. (240VAC, 10A international) is used
on the phase conductors (all current-carrying
conductors).
18