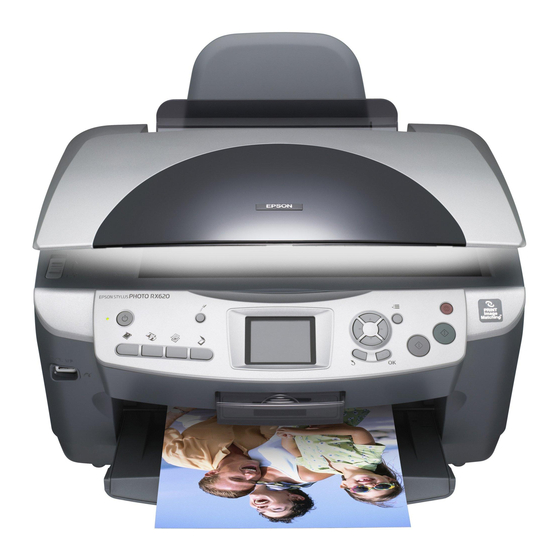
Epson Stylus Photo RX620
3. Near the bottom of the sheet, select the type and size of
paper you loaded. You can select from these options:
Type and size options
Prem. Glossy - 4 × 6
Prem. Glossy - 8 × 10
Prem. Glossy - Letter
Glossy Photo - 4 × 6
Glossy Photo - Letter
Matte - Letter
4. Place the index sheet face-down on the scanner glass, so that
the top of the sheet is aligned with the left edge of the glass.
Top of
sheet
Left edge
of glass
5. Close the scanner lid.
6. Use the u and d buttons to highlight
7. Press the x
button. The form is scanned and your
Color
photos are automatically printed.
Note:
To cancel a print job while printing, press the y Stop button.
Selecting One or More Photos to Print
Follow these steps to print a single photo or selected photos on
a memory card:
1. Press the
Memory Card
2. Use the u and d buttons to highlight
3. Use the l and r buttons to choose
the
button.
OK
4. To print one or a few photos, use the l and r buttons to
navigate to the first photo you want to print, then use the u
and d buttons to choose the number of copies you want to
print. Do this for each photo you want to print, then press
the
button.
OK
To print all the photos on the card, select
press the
button.
OK
Epson Stylus Photo RX620
10 -
For these paper types
Epson Premium Glossy Photo Paper
Epson Premium Semigloss Photo
Paper
Epson Photo Paper
Epson Glossy Photo Paper
Epson Matte Paper Heavyweight
Epson Double-Sided Matte Paper
Scan Index Sheet
button.
Custom Print
, then press
Select Print
All Photos
5. Continue with "Printing the Selected Photos" on page 10 to
finish laying out your photos and setting up your print job.
Selecting a Range of Photos
You can select a range of photos to print (such as photos 1
through 5) and print them as a group.
1. Press the
2. Use the u and d buttons to highlight
3. Use the l and r buttons to choose
the
button.
OK
4. Use the l and r buttons to choose the first photo in the
range, then press the
5. Use the l and r buttons to choose the last photo in the
range, then press the
6. Continue with "Printing the Selected Photos" below to
finish laying out your photos and setting up your print job.
Using DPOF to Select Your Photos
If your camera supports DPOF (Digital Print Order Format),
you can use it to select photos for printing before you insert
the card in your printer. See your camera's instruction manual
for details.
1. Press the
2. Use the u and d buttons to highlight
Custom Print
3. Use the l and r buttons to choose
button.
OK
.
4. Continue with the next section to finish laying out your
photos and setting up your print job.
Printing the Selected Photos
1. Press the u and d buttons to highlight
press the l and r buttons to choose the type of paper that is
loaded in the printer. Refer to the following table.
(These are the settings you should choose when you're not
using your computer to print.)
.
Loaded paper type
Plain paper
Epson Photo Quality Ink Jet Paper
Epson Premium Bright White Paper
Epson Photo Quality Self Adhesive Sheets
Epson Photo Paper
Epson Glossy Photo Paper
Epson All-Purpose Glossy Paper
Epson Glossy Photo Greeting Cards
and
Epson Premium Glossy Photo Paper
11/04
button.
Memory Card
Range Print
button.
OK
button.
OK
button.
Memory Card
.
DPOF
.
Custom Print
, then press
or
Basic Print
, then press the
, then
Paper Type
Paper Type
setting
Plain
GlossyPhoto
Prem.Glossy

