Epson 7800 - Stylus Pro Color Inkjet Printer Руководство по распаковке и настройке - Страница 11

Просмотреть онлайн или скачать pdf Руководство по распаковке и настройке для Аксессуары для принтеров Epson 7800 - Stylus Pro Color Inkjet Printer. Epson 7800 - Stylus Pro Color Inkjet Printer 27 страниц. Stylus pro 800 series
Также для Epson 7800 - Stylus Pro Color Inkjet Printer: Брошюра и технические характеристики (8 страниц), Технические характеристики (4 страниц), Руководство по началу работы (10 страниц), Руководство пользователя (11 страниц), Краткое справочное руководство (12 страниц), Дополнительное руководство (1 страниц), Ограниченная гарантия (12 страниц), Брошюра и технические характеристики (8 страниц), Бюллетень поддержки продуктов (10 страниц), Брошюра и технические характеристики (16 страниц), Уведомительный лист (4 страниц)
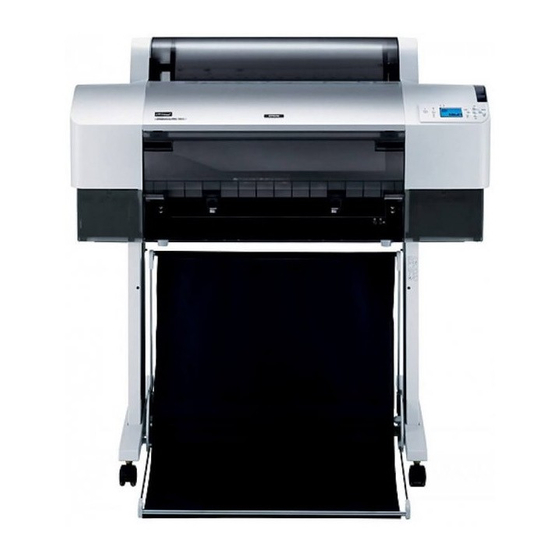
Epson 7800 - Stylus Pro Color Inkjet Printer Руководство по распаковке и настройке
Note:
Set five paper feed support films at even intervals
in the order shown in the figure.
a
10. Set 5 paper guides at the bottom of the printer
as shown below, when you feed the paper
forward or backward.
Note:
❏ When you feed the paper forward with the Auto
Take-up Reel Unit, use the paper guides packaged
with the Auto Take-up Reel Unit.
If you want to feed the paper backward with the
Auto Take-up Reel Unit, remove the paper guides.
❏ If the printer is not used or if you want to move the
printer, insert the upper basket hooks. Make sure
the lower shafts are in the upward position, and
hook the basket rings on the upper basket hooks as
shown below.
b
Reusing the Packaging
If you need to transport your printer a long
distance, the printer should be repacked using the
original boxes and packing materials. Contact
your dealer for assistance.

Unpacking and Assembling

EPSON Stylus Pro 7800/7400

Choosing a Place for the Printer
❏ Leave adequate room for easy operation,
maintenance, and ventilation as shown below.
(Values in the illustration below are the
minimum.)
❏ Leave at least 20 cm between the back of the
printer and the wall.
11