Crow SH-FLOOD-9F Руководство по эксплуатации
Просмотреть онлайн или скачать pdf Руководство по эксплуатации для Датчики безопасности Crow SH-FLOOD-9F. Crow SH-FLOOD-9F 2 страницы. Two way wireless flood detector
Также для Crow SH-FLOOD-9F: Руководство по эксплуатации (2 страниц)
SH-FLOOD-8F/9F
TWO WAY WIRELESS
FLOOD DETECTOR
INSTRUCTION MANUAL
Manual P/N 7103970_B
BRACKET SETS
Default wall bracket set
Figure 3
PRODUCT FEATURES
The SH-FLOOD is a two-way wireless Flood Detector
designed to detect water leaks in kitchens, bathrooms
warehouses or yachts. Installation is easy and provides an
early warning of developing leaks.
Freewave2™ Two Way ISM
GFSK with 5 frequencies & LBT
Ultra Low current consumption
Powered by 2 Energizer L91Lithium batteries 1.5V Size
AA 3300mA
Battery life up to 5 years
Operating Frequencies: 868MHz / 916MHz
Event Transmission:
Alarm – Water detection
Tamper Open/Close
Supervision
Battery status
Bi-Color LED indications
Up to 500m transmission range in open space
Remotely configurable
Optional wall bracket set
Figure 4
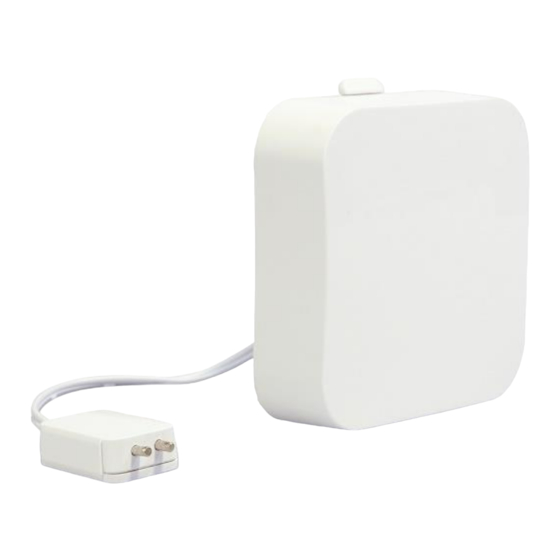
DETECTOR OVERVIEW
Front View
Figure 1
WALL MOUNTING
1. Use supplied screw to fix the bracket on the wall
2.
Use supplied screw or adhesive tape to fix the probe
sensor on the wall. The fluid has to reach the two
exposed Golden contacts at the bottom side of the
sensor in order to give an alarm.
Rear View
Figure 2
LEARNING PROCESS
For pairing process, please refer to your control panel
instructions.
To pair your device with Shepherd™ panel, please proceed
as follows:
1. Enter in installing mode via the "Installer Webpage"
2. Go to "Zones" and select the zone # you want to learn
3. Add Zone -(Reminder: insert Link Type "ISM" , device's
ID, Device Type "Flood Detector".)
4. Press the "Pairing" button located at the back of the
device (figure 2) and wait until Green/Red LED stops
blinking.
5. When registration process is successfully completed,
the Green LED will constantly light ON for 3 seconds
and then turn OFF.
The device should register to the Control Panel and the
zone is automatically defined as "24h hour flood zone".
Transmission Test
Go to OVERVIEW level in installer programming mode
Make a momentary short between the two golden contacts
pins of the sensor. the 24 hour alarm, open should appear in
the state column
Note: refresh the web page display in case you don't see
the change
24 hour alarm, open