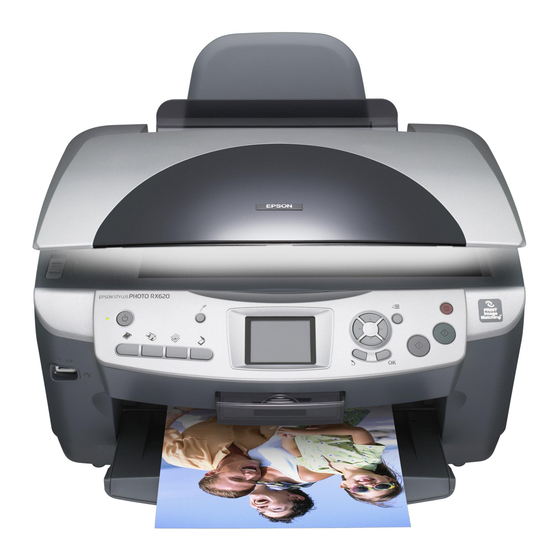
Epson Stylus Photo RX620
Placing 35 mm Slides on the Film Holder
1. Position the film holder so that the 35 mm slide section
faces the center of the scanner glass. The positioning posts
fit in two small holes near the scanner lid, as shown.
2. Places slides in the film holder as shown, with the duller
(emulsion) side facing up.
Note:
If your slide image is in landscape orientation (wider than it is
long), place it in the same direction as slide images in portrait
orientation (longer than they are wide). This copies the maximum
image area, but your preview will be rotated.
3. Close the scanner lid.
Now you are ready copy, print, or scan. See the User's Guide
for instructions.
Epson Stylus Photo RX620
14 -
Flourescent
lamp
Film strip is
in middle
of glass
Make sure the top of
images with portrait
orientation face the
front of the RX620
11/04
Cleaning the Print Head
If your printouts are unexpectedly light, or dots or lines are
missing, you may need to clean the print head. This unclogs
the nozzles so they can deliver ink properly. Print head
cleaning uses ink, so clean it only if quality declines.
Note:
You can also clean the print head using the printer software. Click the
? or Help button on your printer settings window for instructions on
running the print head cleaning utility.
1. Make sure the RX620 is turned on but not printing.
2. Press the
button to enter setup mode.
Setup
3. Press the u and d buttons to select
4. Press the
button, then press
OK
print head.
Cleaning takes about 30 seconds, during which the message
appears on the LCD screen.
Head Cleaning
Caution:
Never turn off the RX620 while the message Head Cleaning
appears on the LCD screen, unless the RX620 hasn't moved or
made noise for more than 5 minutes.
5. When head cleaning is finished, you return to the Setup
Menu. Use the u and d buttons to select
6. Make sure letter-size paper is loaded. Press the
then press
to print a nozzle check.
OK
Note:
You can also print a nozzle check using the printer software. Click
the ? or Help button on your printer settings window for
instructions on printing a nozzle check.
7. Examine the nozzle check pattern you printed. Each
staggered line should be solid, with no gaps, as shown.
❏ If your printout looks okay, you're done. Click
to return to the main menu.
❏ If you see any gaps (as shown below) in the dot pattern,
press
. Then follow the instructions on the LCD
OK
screen to clean the print head again.
.
Head cleaning
to start cleaning the
OK
.
Nozzle Check
button,
OK
Cancel

