Epson RX620 - Stylus Photo Color Inkjet Руководство по эксплуатации - Страница 27

Просмотреть онлайн или скачать pdf Руководство по эксплуатации для Аксессуары для принтеров Epson RX620 - Stylus Photo Color Inkjet. Epson RX620 - Stylus Photo Color Inkjet 45 страниц. Epson scan icm updater v1.20 (psb.2008.07.001)
Также для Epson RX620 - Stylus Photo Color Inkjet: Технические характеристики (2 страниц), Начните здесь Руководство (8 страниц), Обновление (1 страниц), Руководство по информации о продукте (19 страниц), Инструктивное руководство (4 страниц)
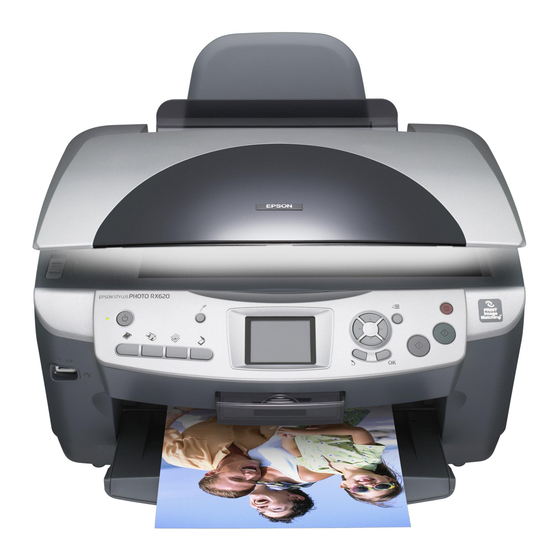
Epson RX620 - Stylus Photo Color Inkjet Руководство по эксплуатации
Printing Directly from an External
Device
You can print images directly from an external
device such as an MO drive, CD-R drive or USB flash
drive, when connected to this product with a USB
cable.
Note:
❏ This feature is only available with images backed up
using this product. See "Copying images from the
memory card to an external device (backup)" of the
next section.
❏ Not all of the devices that can be connected using a
USB cable are supported. Contact your regional
Customer Support for details.
1.
Make sure that this product and the external
device are switched off and that no memory card
is loaded.
2.
Use a USB cable to connect the external device to
this product then switch them both on.
When using a USB flash drive, insert the drive
directly into the USB port, and proceed to step 4.
3.
Insert a medium that contains photo data into
the external storage device.
4.
When the following screen is displayed, select
which folder to print from.
5.
Follow the same procedure as when printing
from a memory card to perform printing.
Cancel
OK
Copying images from the memory
card to an external device
(Backup)
1.
Follow steps 1 and 2 in "Printing Directly from
an External Device" in the previous section.
2.
Insert a medium into the external device.
3.
Load a memory card.
& See "Inserting Memory Cards" on page 11
4.
Press the Memory Card button.
5.
Select Backup.
6.
Confirm the following message, then press the
OK button.
Press the OK button again to start the backup.
7.
Using Additional Features
Cancel
OK
Cancel
OK
27