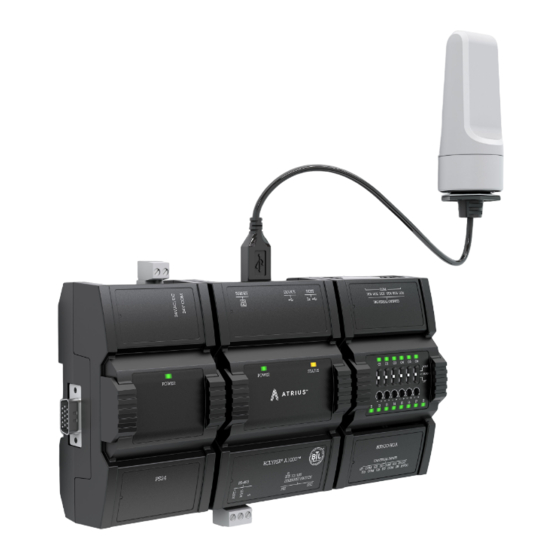
Acuity Controls ATRIUS ECYA1000 Руководство по установке - Страница 4
Просмотреть онлайн или скачать pdf Руководство по установке для Реле Acuity Controls ATRIUS ECYA1000. Acuity Controls ATRIUS ECYA1000 14 страниц.

1-0 Introduction
1-4 General Wiring Recommendations
Any type of modification to any nLight
product will void the product's warranty.
•
All wiring must comply with electrical wiring diagrams as well as
national and local electrical codes.
•
To connect the wiring to a device, use the terminal connectors.
Use a small flat screwdriver to tighten the terminal connector
screws once the wires have been inserted (strip length: 0.25'' (6
mm), tightening torque 0.5 Nm).
•
Keep wiring separate according to their function and purpose
to avoid any ambient noise transmission to other wires. Use
strapping to keep these wires separated. For example, keep
power, hazardous voltage, SELV, network, and input wiring
separate from each other.
•
For the Power Supply module: When connecting one wire to a
controller's terminal block clamping cage (pole), the wire must
be between 18 and 14 gauge (0.82 and 2.1mm2 cross-sectional
area). When connecting two wires to a controller's terminal block
clamping cage, both wires must be the same thickness, must be
between 18 and 16 gauge (0.82 and 1.3mm2 cross-sectional
area), and must be the same type (solid or stranded). Twist the
wires together and insert then into the controller's terminal block
clamping cage. For any other wiring combination (mixed wire
thickness, mixed solid and stranded conductors, more than three
wires, wire thickness is out of range), twist the wires together and
use a wire nut and a pig tail to connect to the controller's terminal
block connector (Figure 2).
•
Keep all wires away from high speed data transmission cables
(for example, Ethernet, etc.).
•
Keep input and output wiring in conduits, trays or close to the
building frame if possible.
•
Use the screws, wall anchors, and wire nuts included for wall
mounting and wiring.
Wire Nuts
Pigtails
Terminal Block
Connector
Controller
Figure 02: Using a Wire Nut and Pigtail to Wire the Controller
Acuity Brands | One Lithonia Way Conyers, GA 30012 Phone: 800.535.2465 www.acuitybrands.com © 2019 Acuity Brands Lighting, Inc. All rights reserved. Rev. 11/07/2019
- cont'd
Wire Connections
1-5 Module Enclosure Dimensions
3.57" 90.67
Inter-Connection Gap: 0.01" 0.40
4.74" 120.31
5.13" 130.29
0.39" 9.98
0.06" 1.44
Front
3.33" 84.47
Figure 03: Server Module
3.20" 81.17
Inter-Connection Gap: 0.01" 0.40
4.74" 120.31
4.80" 121.75
Front
0.06"
1.44
2.95" 74.99
Figure 04: 8UI6UOHOA Module
5.15" 130.07
Inter-Connection Gap: 0.01" 0.40
O1
O2
O3
O4
O5
O6
O7
O8
MAN
AUTO
4.74" 120.31
OFF
4.80" 121.75
Front
0.06"
1.44
4.94" 125.32
Figure 05: Side View - All Modules
0.4"
1.09
Back
0.83 21.08
3.18" 80.82
0.73 18.54
Back
Inches Millimeters
2.31" 58.56
Back
0.83
21.08
3.18" 80.82
0.73
18.54
Inches Millimeters
0.83 21.08
3.18" 80.82
0.73 18.54
Inches Millimeters
4 of 14
