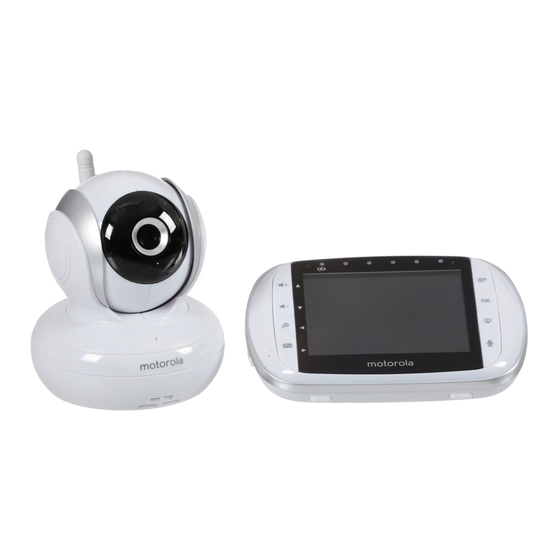
Motorola MBP33XL-2 Руководство пользователя - Страница 11
Просмотреть онлайн или скачать pdf Руководство пользователя для Радионяня Motorola MBP33XL-2. Motorola MBP33XL-2 28 страниц. Digital video
Также для Motorola MBP33XL-2: Краткое руководство по эксплуатации (8 страниц)

2. During power ON, when adapter is plugged in, the battery icon on screen's
top right corner will show that the battery is charging. The Blue LED at the
top left corner light up indicates adapter is plugged in.
2.4
Registration (Pairing)
The Baby monitor is pre-registered to your Parent Unit. You do not need to
register it again unless the Baby Unit loses its link with the Parent Unit.
To re-register your Baby Unit, or register a new Baby Unit, follow the procedure
below:
M
1. Press the
button of the parent unit and the menu bar will pop up.
<
2. Press the
LEFT button or
del/add/view/scan
the
+
3. Press the
UP button or
button to confirm.
cam 1
cam 2
4.
/
/
button to select the desired Camera and press the OK button to start
searching for a camera unit. The green audio level LED will flash rapidly
while searching.
5. Press the OK button to confirm.
6. Press and hold the PAIR button underneath the baby unit until the parent
unit finds the camera, beeps and the video from the camera appears.
NOTE
If a particular Baby Unit was registered previously, registering this current
Baby Unit again will overwrite the old registration.
2.5
View Video Through TV
Connect a suitable AV cable into the AV OUT socket on the side of the Parent
Unit and into the AV input of the TV. Scroll to select
through the AV inputs on the TV menu until the Baby monitor picture is visible.
AV cable is an optional accessory, which is to be purchased separately.
NOTE
The Monitor's power button must be turned ON and Camera pre-selected
before connecting the AV cable. Once the AV cable is connected, the Monitor's
controls cannot be activated.
You can hear also your baby in mono mode by connecting the 3.5mm plug
wired headset to the AV OUT socket.
Getting Started
>
menu will pop up.
-
DOWN button to select
cam 3
cam 4
/
will pop up, press the
RIGHT button until
+
is highlighted, and
add
, and press the OK
-
UP button or
DOWN
on the Parent unit. Scroll
11
