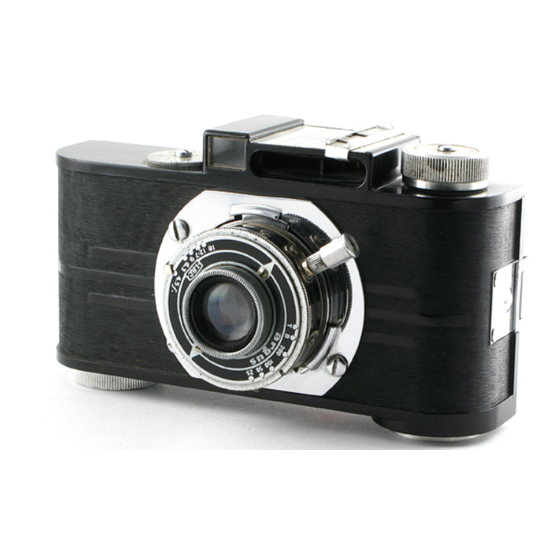
Argus A2F Инструкции для руководства по эксплуатации - Страница 8
Просмотреть онлайн или скачать pdf Инструкции для руководства по эксплуатации для Цифровая камера Argus A2F. Argus A2F 11 страниц.

guessed. Use a range finder
or
tape measure.
Small diaphragm apertures (f.9 to f.lS) result
in a greater range of sharpness and
should
be used whenever possible. Focusing is
ac-
complished by rotating the knurled ring
(21)
with the tips of the thumb
and
forefinger.
The figure on
scale
(21)
representing the
distance between the object to be photo-
graphed
and
the camera is brought in line
with the
scribed
index on focus indicator
(20).
Critically sharp
negatives are obtained
by measuring the distance from the front
of
the
camera
case to the
su
bject
of
interest.
CALCULATING EXPOSURE
Hold
the camera
as
shown
in the accom-
panying
illustration
(figure 3)
normal read-
ing distance. Point
the camera at the subject
--OLinteresj:
llnd
be careful not
to
include more
sky
or
whi1eb
--acKgfOuITd-'-'f:han
- necessarY-:-'
The Argus
exposure
meter makes
a
direct
reading
of
the reflected light from the
sub-
ject.
If the degree
of
brightness of the
subject
varies
considerably
or a rendering of shadow
detail is desired, it is
advisab
le
to
aim
the
camera
at the
shaded
parts
and approach as
near
as
possible to them.
When photographing in bright
sunlight,
the top
of
the
camera shou
ld
be
shaded
with
the
hand.
TO OBTAIN A READING
1. Hold the camera
as
illustrated (figure
3)
with the forefinger
of
the
left
hand
on
the
sl iding calcu lator
(6).
10
FIGURE
3
2.
Slide the calculator
with the left
fore-
finger until the metal pointer
on
the back is
directly
in line with the last visable bar
which
appears
in the meter interior. Under
average
sunlight
conditions
the
3rd
or 4th
bar from the left will be visible.
3.
When the calculator is in
correct
posi-
tion
hold the
camera
as it appears in the
accompanying
illustration
(figure
4.)
4.
Set the arrow
(32)
until it is in
the
center of the horizontal
column
on
plate (7)
which
corresponds
to the general light condi-
tion. In the illustrated case the arrow
(12)
is
in correct
location
for an
average
bright
day.
II
