Epson 3170 - Perfection Photo Руководство по устранению неполадок - Страница 9

Просмотреть онлайн или скачать pdf Руководство по устранению неполадок для Программное обеспечение Epson 3170 - Perfection Photo. Epson 3170 - Perfection Photo 12 страниц. Scanning tips and troubleshooting guide
Также для Epson 3170 - Perfection Photo: Бюллетень поддержки продуктов (34 страниц), Руководство пользователя (6 страниц), Начните здесь (4 страниц), Бюллетень поддержки продуктов (23 страниц), Руководство (11 страниц), Бюллетень поддержки продуктов (40 страниц), Бюллетень поддержки продуктов (17 страниц), Бюллетень поддержки продуктов (24 страниц), Бюллетень поддержки продуктов (29 страниц), Бюллетень поддержки продуктов (8 страниц), Важные инструкции по безопасности (4 страниц), Бюллетень поддержки продуктов (3 страниц), Бюллетень поддержки продуктов (14 страниц), Бюллетень поддержки продуктов (18 страниц), Бюллетень поддержки продуктов (12 страниц), Бюллетень поддержки продуктов (40 страниц), Бюллетень поддержки продуктов (40 страниц), Бюллетень поддержки продуктов (22 страниц), Бюллетень поддержки продуктов (12 страниц), Бюллетень поддержки продуктов (21 страниц)
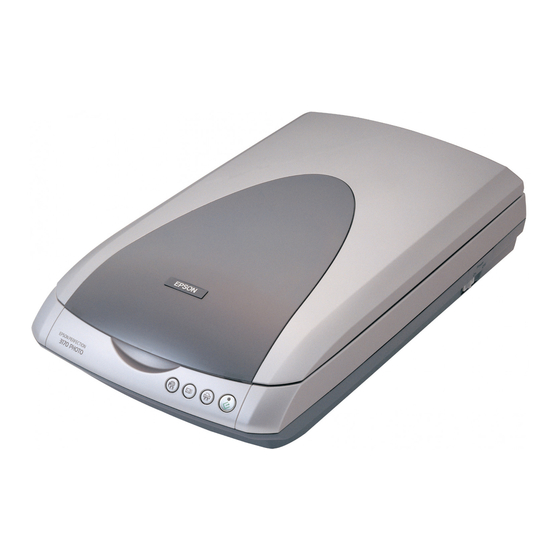
Epson 3170 - Perfection Photo Руководство по устранению неполадок
Moiré (cross-hatch) patterns appear in the scanned image
A moiré is a cross-hatch pattern that appears on scanned
images when you scan printed materials. It is a result of
interference that occurs due to the difference between the
pitches of the scanning and the halftone screens.
Try one or more of the following solutions.
Select the Descreening Filter check box in the
Home Mode or the Professional Mode main
window.
In Professional Mode, set the Screen Ruling of the
Descreening Filter to an appropriate setting for
your document.
Clear Unsharp Mask Filter in the Professional
Mode main window.
Place a transparent sheet, such as an overhead projector sheet, between the document
and the document table.
Reposition the document slightly.
Make the image size slightly smaller.

The image is larger or smaller than the original

Try one or more of the following solutions.
The image size and resolution settings of your software determine the size of the printed
image. Do not use the size of the monitor image to judge the printed size.
Change the Target Size in the Home Mode or Professional Mode main window.

Scanned images cannot be printed or come out garbled when printed

Try one or more of the following solutions.
Make sure your printer is properly connected to the computer, correctly set up, and
maintained. See your printer manual for details.
Check that your software is properly installed and set up for your printer. See your software
manual.

Colors differ from the original

Try one or more of the following solutions:
Change the Image Type setting.
Change the image settings of your scanner software, especially the data format (bits, pixel,
color), gamma correction, and color correction. Try different combinations of these settings.