Epson 4880 - Stylus Pro Color Inkjet Printer Руководство по установке - Страница 3

Просмотреть онлайн или скачать pdf Руководство по установке для Программное обеспечение Epson 4880 - Stylus Pro Color Inkjet Printer. Epson 4880 - Stylus Pro Color Inkjet Printer 4 страницы. Ink fill for the refillable cartridge system
Также для Epson 4880 - Stylus Pro Color Inkjet Printer: Краткое руководство по установке (1 страниц), Руководство по работе с сетью (46 страниц), Руководство по информации о продукте (16 страниц), Ограниченная гарантия (12 страниц), Инструкция по применению (5 страниц)
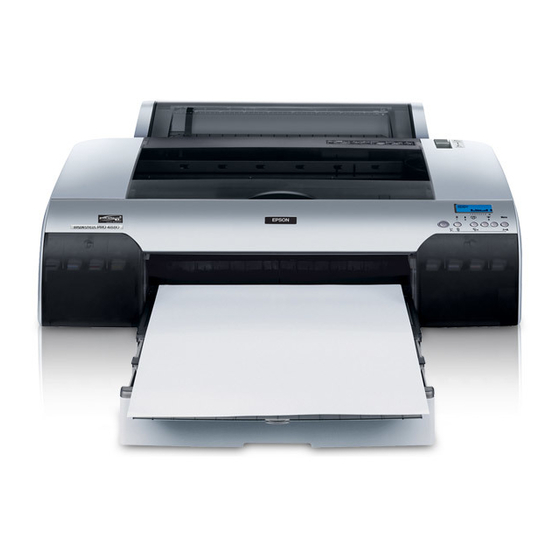
Epson 4880 - Stylus Pro Color Inkjet Printer Руководство по установке
Configuring Your Printer for Black and White
Photo Printing
Follow the steps below to configure your Printer Options to use Epson's Advanced
B&W Photo mode:
1. Make sure that the Darkroom Core Edition for Epson software is open, then
click the
Setup
2. Select
Printer Options
configure printer
3. On the Advanced tab, select the
menu.
4. Click the
Printing Preferences
select Advanced B&W Photo under the Color setting.
Note:
For more information on selecting Advanced B&W Photo mode settings, see the
Epson Printer Guide included with your printer.
5. When you have finished selecting settings in the Epson printer driver,
click
.
OK
When you have finished printing using Advanced B&W Photo mode, follow steps
2 to 6 in "Configuring Your Printer" to reconfigure the printer for color printing.

Finishing the Installation

Once you have finished configuring your printer, you need to finish setting up
your Darkroom Core Edition for Epson software. See the "Setting Up" chapter
of the ExpressDigital electronic Quick Start Guide or User Guide installed with the
software. To view the guides, navigate to
Darkroom CE Epson\Docs
Adobe
®
Reader
®
).
tab at the bottom of the software window.
, click your printer in the list to select it, then click
.
Manual
button to open the Epson printer driver and
and double-click the guide's icon (requires
setting from the Profile Settings
C:\Program Files\ExpressDigital\
Finishing the Installation
2