Epson 7800 - Stylus Pro Color Inkjet Printer Руководство по распаковке и настройке - Страница 4

Просмотреть онлайн или скачать pdf Руководство по распаковке и настройке для Программное обеспечение Epson 7800 - Stylus Pro Color Inkjet Printer. Epson 7800 - Stylus Pro Color Inkjet Printer 27 страниц. Stylus pro 800 series
Также для Epson 7800 - Stylus Pro Color Inkjet Printer: Брошюра и технические характеристики (8 страниц), Технические характеристики (4 страниц), Руководство по началу работы (10 страниц), Руководство пользователя (11 страниц), Краткое справочное руководство (12 страниц), Дополнительное руководство (1 страниц), Ограниченная гарантия (12 страниц), Брошюра и технические характеристики (8 страниц), Бюллетень поддержки продуктов (10 страниц), Брошюра и технические характеристики (16 страниц), Уведомительный лист (4 страниц)
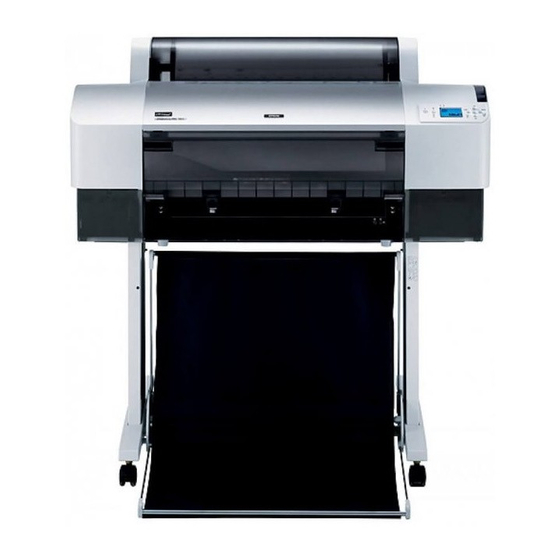
Epson 7800 - Stylus Pro Color Inkjet Printer Руководство по распаковке и настройке
❏ Shake an ink cartridge well before installing it
for best results.
c
Caution:
Do not shake cartridges (that have been
installed previously) with too much force.
❏ Do not use an ink cartridge beyond the date
printed on the cartridge carton.
❏ Use up the ink cartridge within six months of
installation for best results.
❏ Do not dismantle the ink cartridges or try to
refill them. This could damage the print head.
❏ Do not touch the ink supply port or its
surrounding area and the green IC chip on the
side of the ink cartridge. Doing so may affect
normal operation and printing.
For United Kingdom Users
Use of options
EPSON (UK) Limited shall not be liable against
any damages or problems arising from the use of
any options or consumable products other than
those designated as Original EPSON Products or
EPSON Approved Products by EPSON (UK)
Limited.
Safety information
w
Warning:
This appliance must be earthed. Refer to rating
plate for voltage and check that the appliance
voltage corresponds to the supply voltage.
Important:
The wires in the mains lead fitted to this appliance are
coloured in accordance with the following code:
4
Green and yellow - Earth
Blue - Neutral
Brown - Live
If you have to fit a plug:
As the colours of the mains lead of this appliance
may not match coloured markings used to
identify the terminals in a plug, please proceed as
follows:
The green and yellow wire must be connected to
the terminal in the plug which is marked with the
letter E or earth symbol (G).
The blue wire must be connected to the terminal
in the plug marked with the letter N.
The brown wire must be connected to the terminal
in the plug marked with the letter L.
If damage occurs to the plug, replace the cord set
or consult a qualified electrician.
Replace fuses only with a fuse of the correct size
and rating.