Epson 826W - PowerLite WXGA LCD Projector Быстрая настройка - Страница 3

Просмотреть онлайн или скачать pdf Быстрая настройка для Программное обеспечение Epson 826W - PowerLite WXGA LCD Projector. Epson 826W - PowerLite WXGA LCD Projector 4 страницы. Epson powerlite 85/825/826w
Также для Epson 826W - PowerLite WXGA LCD Projector: Руководство пользователя (42 страниц), Технические характеристики (6 страниц), Руководство по эксплуатации (47 страниц), Руководство по быстрой настройке (9 страниц), Руководство пользователя (1 страниц), Технические характеристики (2 страниц), Бюллетень поддержки продуктов (25 страниц), Бюллетень поддержки продуктов (12 страниц), Руководство по началу работы (9 страниц), Декларация о соответствии (4 страниц), Список деталей (1 страниц), Бюллетень поддержки продуктов (22 страниц), Список деталей (1 страниц), Бюллетень поддержки продуктов (28 страниц), Бюллетень поддержки продуктов (41 страниц), Бюллетень поддержки продуктов (38 страниц), Бюллетень поддержки продуктов (28 страниц), Бюллетень поддержки продуктов (15 страниц), Бюллетень поддержки продуктов (22 страниц), Руководство по установке (10 страниц), Руководство по установке (3 страниц)
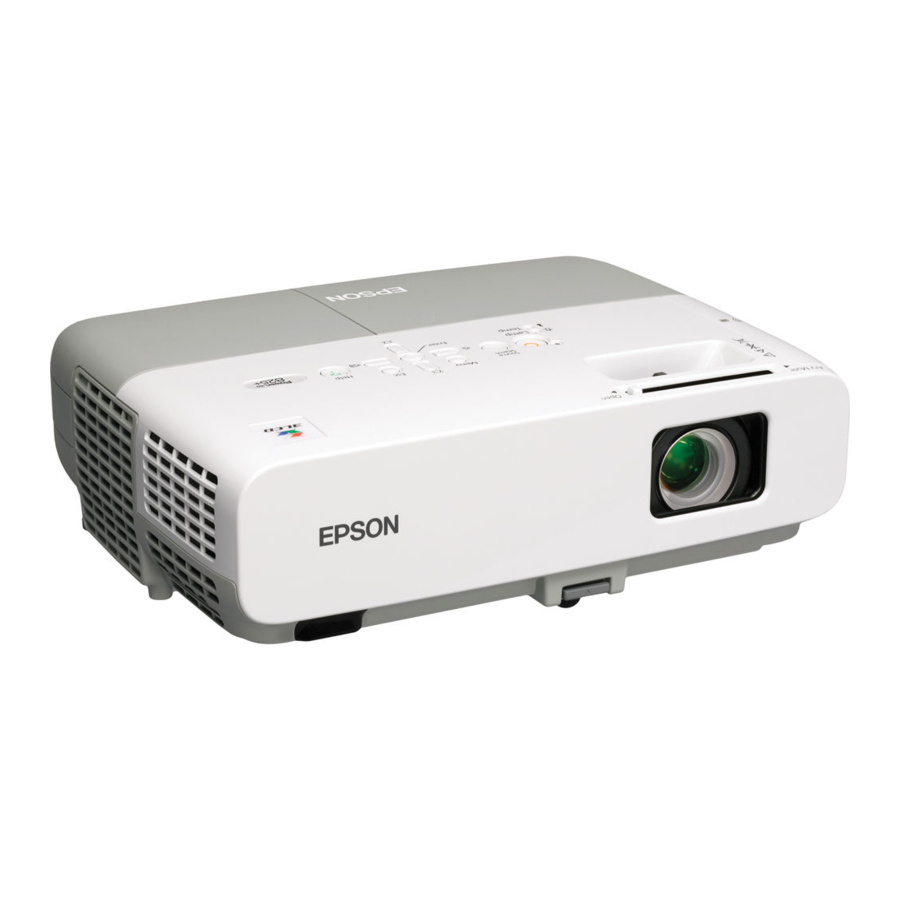
Epson 826W - PowerLite WXGA LCD Projector Быстрая настройка

Network configuration

If you need to configure the projector for your network, you can use the
projector's menu system.
NOTE: If you're using the optional Wireless 802.11a/b/g Module, see the
User's Guide on your projector CD for configuration instructions.
1
Press the Menu button on the remote control, select the Network
menu, then press Enter.
2
Choose Network Configuration and press Enter.
3
Select the Wired LAN menu and press Enter.
4
Choose IP Settings and press Enter. You see a screen like the
following:
5
Do one of the following:
If your network assigns addresses automatically, turn on the DHCP
setting.
If your network does not assign addresses automatically, turn off
DHCP and enter the projector's IP Address, Subnet Mask, and
Gateway Address, as needed.
To enter numbers, use the
highlight the number you want to input, then press the Enter button.
When you're finished entering an address in the network menu, press
the Esc button to return to the previous menu.
6
To prevent the IP address from appearing on the standby screen, set the
IP Address Display setting to Off.
7
When you're done making all necessary changes, press the Esc button
to return to the previous menu, select Complete, and press the Enter
button to save your settings. Then press Enter again to confirm.
8
Press the Menu button to exit the menu system.
buttons on the remote control to
Project over the network
Install EasyMP
®
Network Projection and EasyMP Monitor (Windows only) on
each computer that will project over the network. Use the CD labeled Epson
Projector Software for Meeting & Monitoring to install the software.
If you need to configure the projector for your network, see "Network
Configuration."
1
Press the LAN button on the remote control.
2
Start EasyMP Network Projection on your computer.
Windows: Select
or Start > Programs or All Programs > EPSON
Projector > EasyMP Network Projection > EasyMP Network
Projection V2.XX.
Mac OS X: Double-click the EasyMP Network Projection icon in your
Applications folder.
3
Select Advanced Connection Mode and click OK.
4
Select the projector you want to connect to, then click Connect.
If you don't see the projector you want, click the Automatic search
button. If you still don't see the projector, click the Manual Search
button and enter the projector's IP address.
5
If you see a message asking for a keyword, enter the four digits that
appear on the LAN standby screen and click OK.
Your computer image is projected, with a floating toolbar:
When you're done presenting, click Disconnect on the toolbar.
NOTE: Using the optional Wireless 802.11a/b/g Module, you can project
wirelessly. To purchase the Wireless 802.11a/b/g Module or other
accessories, see "Optional Accessories." For more information about using
the projector on a network, see your User's Guide and EasyMP Network
Projection Operation Guide on your projector CD.