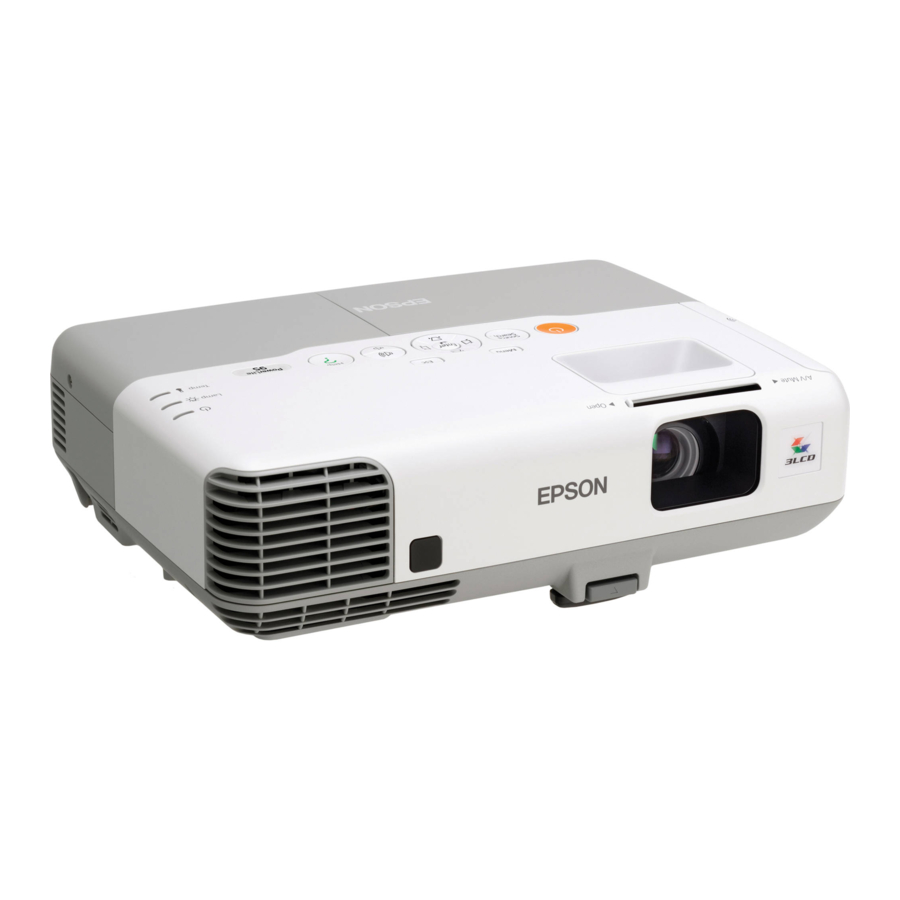
PowerLite
95/96W/905/915W/1835
®
Quick Setup
Before using the projector, make sure you read the safety instructions in the
User's Guide on your projector CD.
Connect the projector
Choose from the following connections:
Computer USB Port
Connect a computer using a USB cable.
Connect the square end of the USB cable to the projector's
TypeB (square) port. Connect the flat end of the cable to any USB port on
your computer.
Windows
®
2000 SP4 or later:
After turning on the projector, follow
the on-screen instructions to install the Epson USB Display software
(EMP_UDSE.EXE; only on first connection).
Note: If the software screen does not display automatically, open My
Computer or Computer, then double-click EPSON_PJ_UD. If it still does not
display, access the projector's Extended menu and select USB Display as the
USB Type B setting. See the User's Guide on your projector CD for instructions.
®
Mac OS
X 10.5.1 or higher:
After turning on the projector, the setup folder
for USB Display appears in the Finder. Double-click USB Display Installer and
follow the on-screen instructions to install the Epson USB Display software
(only on first connection).
Computer Monitor Port
Connect a computer using the VGA cable that came with the projector.
Connect one end of the cable to the projector's Computer1 or Computer2
port, and the other end to your computer's
a notebook, switch it to external display (see "Troubleshooting"). You can also
connect an audio cable.
Wireless Network
You can connect the projector wirelessly over an 802.11g, 802.11b, or 802.11n
wireless network. See "Project wirelessly" for instructions.
Wired Network
You can connect the projector to your network using an Ethernet
See "Project over a wired network" on the back of this sheet for instructions.
USB
monitor port. If you are using
®
cable.
Video Device
Connect up to 5 video devices and use the Source Search button on the
projector or remote control to switch between them. (All cables are optional).
Camera, USB Device, or Epson Document Camera DC-06
Connect a digital camera, USB flash drive, USB storage device, or Epson
document camera DC-06 to the projector's USB TypeA (flat) port.
If you connect a digital camera, USB flash drive, or USB storage device, you can
use the projector's Slideshow feature. See the User's Guide on your projector
CD for details.
External Monitor, External Speakers, and Microphone
You can also connect an external monitor, external speakers, and a microphone
to your projector to enhance your presentations. See the User's Guide on your
projector CD for details.
Turn on your equipment
1
Turn on your computer or video source.
2
Plug in the projector.
The power light on the projector turns orange.
3
Open the A/V Mute slide all the way.
RCA video cable (composite video)
S-Video cable
Audio cable
Component video to VGA cable
Audio cable
HDMI cable