Epson PowerLite 61p Руководство по установке - Страница 18

Просмотреть онлайн или скачать pdf Руководство по установке для Программное обеспечение Epson PowerLite 61p. Epson PowerLite 61p 19 страниц. Release of emp ns connection for windows & mac upgrade from v2.50 to v2.51
Также для Epson PowerLite 61p: Руководство пользователя (42 страниц), Технические характеристики (2 страниц), Руководство по эксплуатации (47 страниц), Руководство по быстрой настройке (2 страниц), Список деталей (1 страниц), Обновление информации о замене ламп (2 страниц), Информация о продукте (15 страниц), Бюллетень поддержки продуктов (25 страниц), Бюллетень поддержки продуктов (8 страниц), Бюллетень поддержки продуктов (22 страниц), Бюллетень поддержки продуктов (28 страниц), Бюллетень поддержки продуктов (41 страниц), Бюллетень поддержки продуктов (15 страниц), Бюллетень поддержки продуктов (22 страниц)
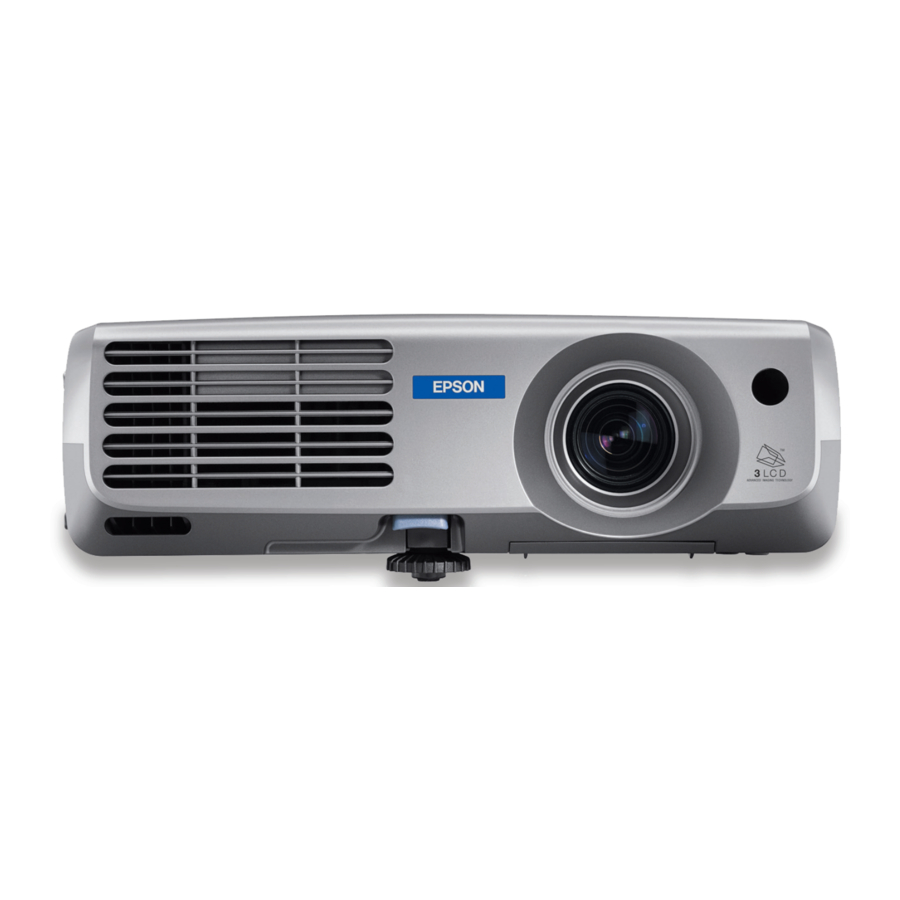
Epson PowerLite 61p Руководство по установке
ELPMBUNI

Final Adjustments

1.
With the projector secured in the mount and power on and signal supplied to the projector you can now
proceed with the final height, tilt, and roll and yaw to optimize the projected image.
2.
The height can be adjusted by slightly loosening the two 8mm height adjustment screws and raising or
lowering the projector (Figure 14).
3.
Once the height is achieved tighten the two screws.
4.
To adjust the tilt angle of the projector, slightly loosen the side M8 screws and tilt to the desired angle to
the screen and firmly tighten the two M8 tilt adjustment screws (Figure 15).
5.
If roll adjustment is needed to square the images on the screen, slightly loosen the front and rear M8
screws and adjust to the desired angle then firmly tighten the two M8 roll adjustment screws (Figure 16).
(Roll) Adjusting
Screws
Allen Wrench
Installation Manual
Wood Stud
Allen Wrench
Figure 14
Figure 15
Figure 16
Ceiling
Height Adjustable
Screws
Wood Stud
Ceiling
Tilt Adjusting Screws
Allen Wrench
Wood Stud
Ceiling
Page - 19 -