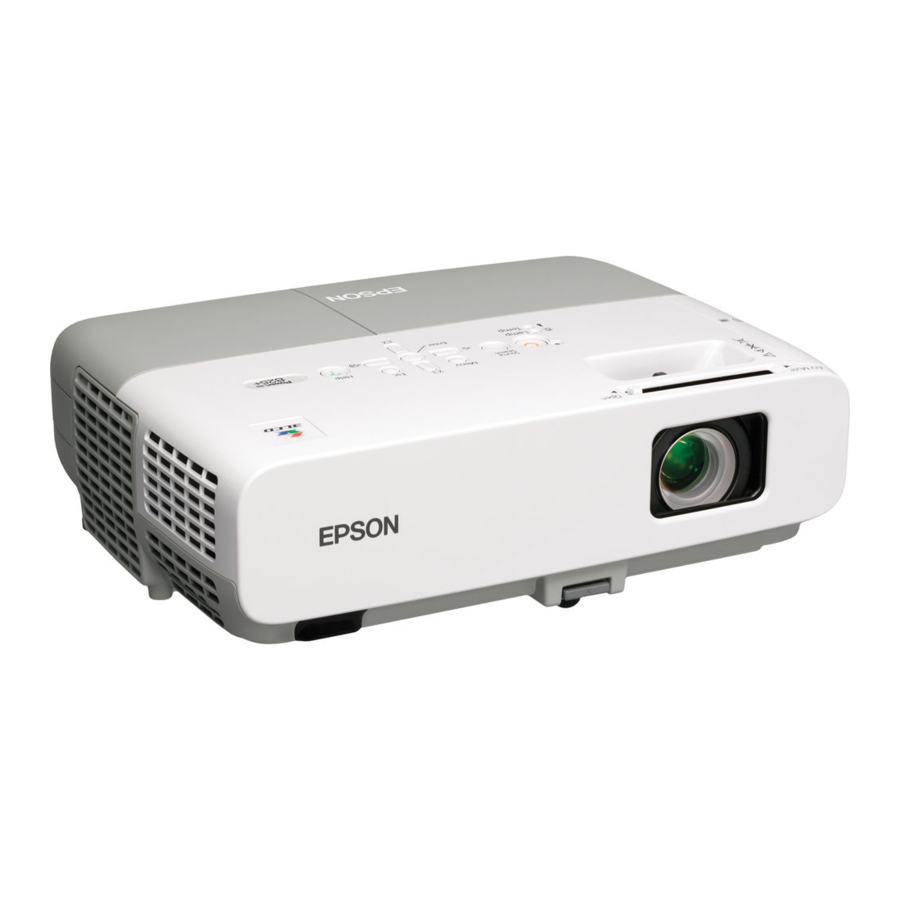
Epson PowerLite 825 Руководство по установке - Страница 6

Просмотреть онлайн или скачать pdf Руководство по установке для Программное обеспечение Epson PowerLite 825. Epson PowerLite 825 10 страниц. Epson powerlite 85/825/826w
Также для Epson PowerLite 825: Руководство пользователя (42 страниц), Руководство по эксплуатации (47 страниц), Руководство по быстрой настройке (9 страниц), Руководство пользователя (1 страниц), Технические характеристики (2 страниц), Бюллетень поддержки продуктов (25 страниц), Бюллетень поддержки продуктов (12 страниц), Руководство по началу работы (9 страниц), Декларация о соответствии (4 страниц), Список деталей (1 страниц), Бюллетень поддержки продуктов (22 страниц), Список деталей (1 страниц), Бюллетень поддержки продуктов (28 страниц), Бюллетень поддержки продуктов (41 страниц), Бюллетень поддержки продуктов (38 страниц), Бюллетень поддержки продуктов (28 страниц), Бюллетень поддержки продуктов (15 страниц), Бюллетень поддержки продуктов (22 страниц), Руководство по установке (3 страниц)

Epson PowerLite 825 Руководство по установке
Epson PowerLite 85/825/826W
Note that the projector's native aspect ratio is narrower than 16:9.
Therefore, widescreen movies and HDTV broadcasts will display with
black bars at the top and bottom when
setting. For the PowerLite 826W, you can select
image vertically to ll the whole projection area.

When Connected to a Computer

For computer images,
Normal
This displays the image at the largest possible size without stretching
it. For computers with wide-panel WXGA displays, the PowerLite
826W displays the image at WXGA resolution, making full use of the
display area; likewise, the PowerLite 85/825 displays XGA images to
their best advantage.
Depending on your computer display and projector model, you may
see black bars at the edges. In that case, try selecting
PowerLite 826W also lets you select:
to stretch the image to ll the whole projection area
Full
to t the image in one dimension only, with the other
Zoom
dimension cut o
to display the image without stretching or scaling it
Through
If the resolution of the image is the same as the projector's, changing
the
setting has no e ect. Also, if you're projecting through
Aspect
your computer's USB port, you can't change the projector's aspect
ratio; instead, change your computer's resolution to match that of the
projector.
is selected as the
16:9
to stretch the
Full
is usually the best setting to select.
16:9
INSTALLATION HANDBOOK
Aspect
note
If part of the image remains
cut o , check the projector's
Resolution setting (see
page 92). Select Normal or
. The
Wide, depending on the size
of your computer's display
panel.
Remote Control Information
6