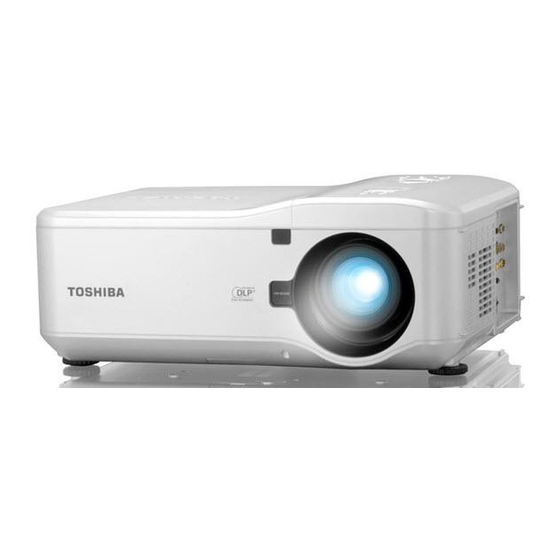
Toshiba TDP-WX5400 Руководство пользователя - Страница 10
Просмотреть онлайн или скачать pdf Руководство пользователя для Проектор Toshiba TDP-WX5400. Toshiba TDP-WX5400 42 страницы. Toshiba tdp-wx5400: user guide
Также для Toshiba TDP-WX5400: Руководство по установке (16 страниц)

Names of each part on the main unit
(1) (2)
(3)
(7)(8)
(5)(6)
(9)
(10)
(11)
Front
Name
: Function
(1) Lamp cover
: Remove to replace lamp.
(2) Lens
: Remove lens cap before use.
(3) Control panel
: Operates the projector.
(4) Speaker
: Outputs audio sound.
(5) Front IR Receiver
: Receives IR signals from the remote control.
(6) Lens release button
: Press the release button before removing the lens.
(7) Intake vent and front filter : Keeps the front fan free of dust.
• Clean regularly for optimum performance.
• Do not obstruct.
(8) Anti-theft screw
: Prevents theft of the lens.
(9) Foot adjuster
: Adjusts level of projector.
(10) Right filter
: Keeps the right fan free of dust.
• Clean regularly for optimum performance.
• Do not obstruct.
(11) Connector panel
: Connect various input devices.
(12) Rear IR Receiver
: Receives IR signals from the remote control.
(13) Rear filter
: Keeps the rear fan free of dust.
• Clean regularly for optimum performance.
• Do not obstruct.
(14) Air exhaust
: Expels air that has grown hot inside the projector—do not
obstruct.
(15) Kensington lock
: Attach the projector to a permanent object with the
Kensington slot and a security cable.
(16) Security chain lock
: Attach the projector to a permanent object using a security
cable.
(17) Carrying handle
: Pull up the handle when carrying the projector.
(12)
(13)
(14)
(15) (16)
(17)
Back
p.65
p.20
p.23
p.39
p.22
p.23
18
Carrying the projector
(4)
Always carry your projector by the handle.
Before moving or carrying the projector, disconnect the power cable and any other cables that
may be attached to it.
When moving the projector or when the projector is not in use, cover the lens with the lens cap.
To extend the projector handle, refer to the following guide.
Stand the projector on its end with the panel terminal facing to the bottom.
1
Note
•
Stand the projector on its end by lifting the cabinet. Do not use the handle to place the
projector upright.
Lift the handle in the direction shown until it is fully extended.
19
