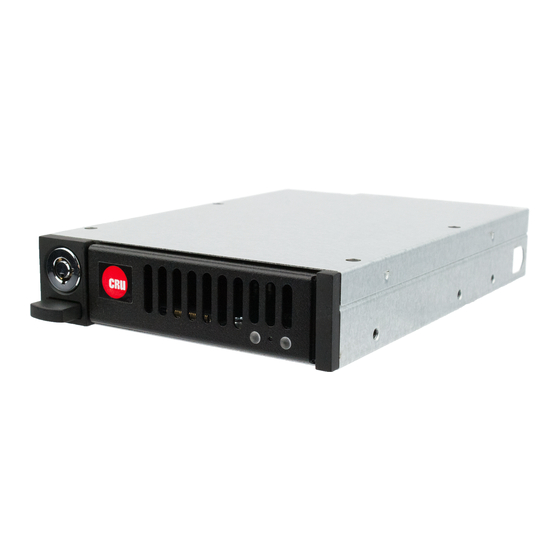
CRU QX310 v2 Руководство пользователя - Страница 5
Просмотреть онлайн или скачать pdf Руководство пользователя для Шкаф CRU QX310 v2. CRU QX310 v2 12 страниц.

2 Installation and Setup
2.1 Frame Installation
a.
Install an OcuLink (SFF-8612) or SFF-8643 adapter card into your computer.
b.
If the QX310 v2 carrier is locked into the frame, insert the included key into the lock and
turn it 90 degrees counterclockwise. Push in the ejection button to pop the carrier out and
remove it from the frame.
c.
Insert the frame into a 3.5-inch bay opening and secure it using the supplied screws.
d.
Connect a compatible cable to the card adapter and connect the other end to the QX310 v2
receiving frame.
SFF-8643 cables require 85Ω impedence for PCIe/NVMe compatibility when used with the
QX310 v2. Compatible adapter cards and cables, as well as a 5.25-inch bay adapter and an
M.2 adapter are available for purchase on the QX310 product page at cru-inc.com.
An M.2 slot (with CRU OCuLink to M.2 Slot Adapter) or a PCIe 3.0 slot on your computer
is required for full performance. However, older PCIe slots will also work with reduced
performance.
2.2 SSD Installation
2.2.1 M.2 SSD Installation
a. Use a Phillips screwdriver to remove two screws from the rear of the carrier. Then
remove the cover from the carrier.
b. Remove the protective covering from the thermal sensor located in the middle of the
carrier board.
c. Install your M.2 SSD using the provided washer and screw.
d. Replace the carrier cover and refasten with the two screws you removed in Step A.
QX310 v2 User Manual
5
