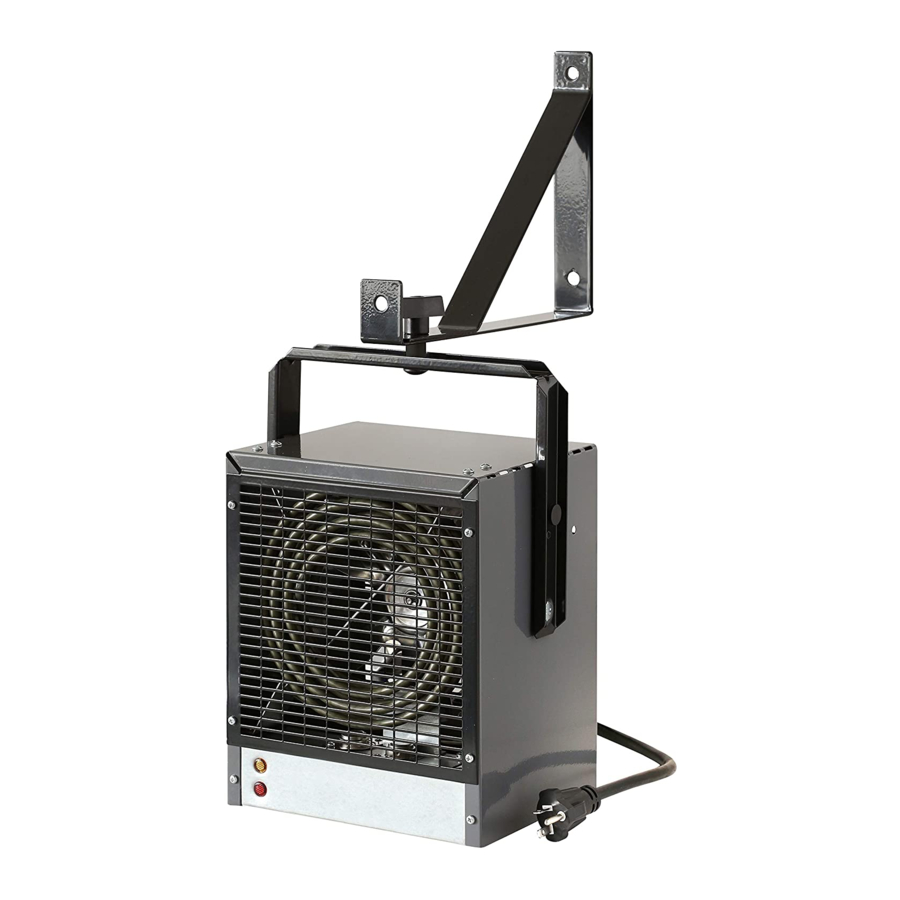
Dimplex DGWH4031 Руководство пользователя - Страница 3
Просмотреть онлайн или скачать pdf Руководство пользователя для Электрический нагреватель Dimplex DGWH4031. Dimplex DGWH4031 4 страницы. Garage workshop heater
Также для Dimplex DGWH4031: Руководство пользователя (11 страниц), Руководство пользователя (11 страниц), Инструкции по установке (2 страниц), Важные инструкции Руководство (6 страниц), Краткое руководство по эксплуатации (2 страниц)

HEATER LOCATION AND CLEARANCES
The heater is intended for use located on a hard floor, table top, desk or
on shelf, and the like, or suspended on a wall or ceiling by means of
provided hanger bracket.
When suspended from wall or ceiling heater should be located along
outside walls to provide perimeter air circulation.
The discharge air should wipe the walls without blowing directly on them.
(Figure 2.)
If heater is to be tilted on horizontal axis after mounting - ensure a
minimum clearance of 26.5 inches (67 cm) between floor and bottom of
heater. Also, when mounted to ceiling, ensure a minimum clearance of
3.5 inches (9 cm) from ceiling to top of heater. Ensure the air discharge
is parallel to or away from walls.
INSTALLATION WITH WALL/CEILING HANGER BRACKET
NOTE: To prevent personal injury always
use a licensed electrician to install new
outlets or circuits.
The use of the hanger bracket allows the
unit to be rotated approx 45 degrees in each
direction from centre, when attached to wall
and tilted in 45 degrees range while sus-
pended from a wall or ceiling.
NOTE: The hardware for mounting the
hanger bracket to the wall or ceiling is not
included.
Hanger
bracket
Air in
Fig.3
Hanger Bracket Mounting Options
CAUTION: When turning and/or tilting the heater do not block the
exhaust opening.
The following steps are shown in fig.3.
1. Locate a stud or other suitable support and install hanger
bracket on wall or ceiling. Select location so control knob on
T-Handle
back of heater will be reached easily.
2. Insert carriage bolt into square opening of heater handle.
Lock washer
3. Slide spacer over the carriage bolt shaft and insert in
Spacer
hanger bracket opening and hold them in position.
Carraige
4. Slide lock washer and thread on T-Handle onto carriage
Bolt
bolt, turn to tighten.
Air out
